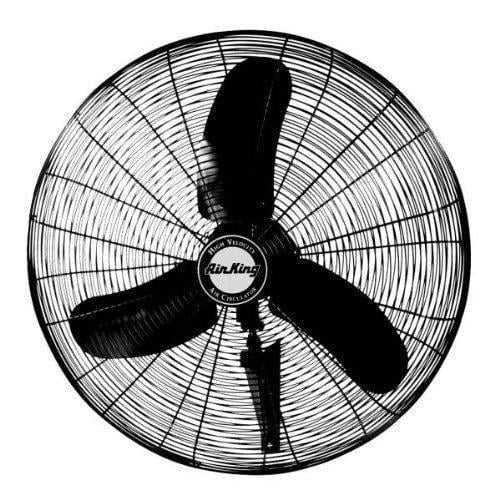
It gets hot in Florida, and my old garage fan wasn’t cutting it.
This past week it hit 100 degrees in central Florida with 80% humidity. That’s hot enough to make you start sweating walking from your car to your house.
I knew I needed a better fan.
I upgraded from a Lasko Stanley 655650 fan to the
Why I Upgraded My Wall-Mount Garage Fan
Two summers ago, I picked up my old 20″ Lasko Stanley fan for around $100. It does a decent job most of the time, but there are some things that I don’t like.
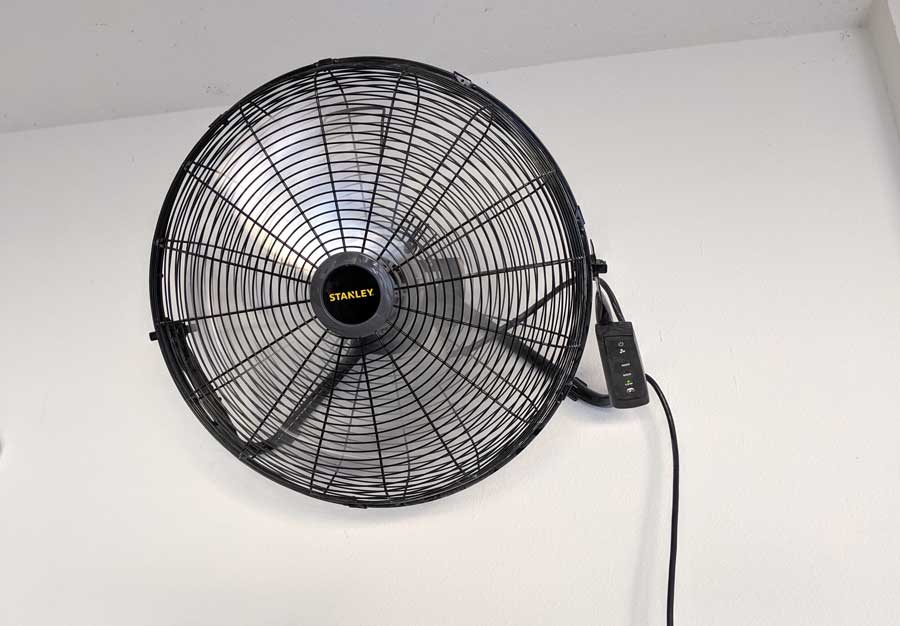
Its biggest drawback is that it has no oscillating feature. The placement of the outlets in my garage means I’m limited to where I can effectively mount a fan.
There’s a nice breeze on one side of the garage, but anywhere other than directly in front of the fan is stiflingly hot.
It has a remote control, which sounds cool (pun intended), but it’s actually a problem. Because it always defaults to ‘off,’ I can’t connect it to a smart outlet and integrate it with my Google Home or Amazon Alexa.
It’s also deafening, even at the lowest speed. You’re not usually going to have a quiet conversation in the garage. Still, I’d at least like to hear the music from my portable speaker over the fan.
I’d been looking for a new fan for a few weeks and did a lot of research, but it took our latest heatwave to get me to pull the trigger.
I have to give a shout-out to Matt at Obsessed Garage for turning me on to
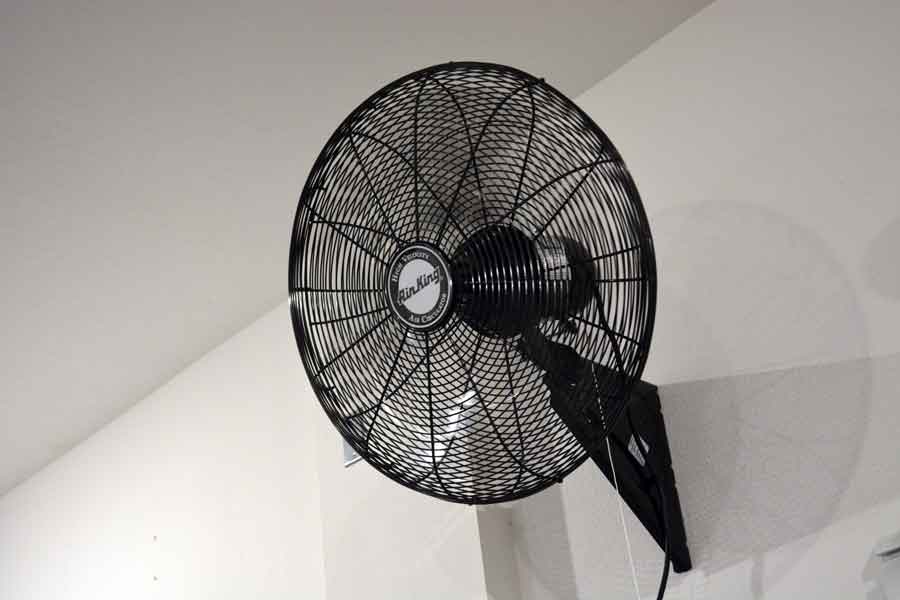
But
This model is the 99539 24″ quiet oscillating wall mount fan, which you can find it on Amazon or Walmart.
I’ll warn you: it’s not cheap.
I could get another two Lasko Stanley fans for that price and still have money left over.
So why the
- Three Speed (HiMedLow):
- 8780 cfm (High) @ 72 db
- 7480 cfm (Med) @ 70 db
- 5570 cfm (Low) @ 64 db
The Two Most Important Things to Know When Buying a Fan
I want my fans to be effective, efficient, and quiet.
You can usually only pick two of those. If you want all three, it’s going to cost you. My Haiku interior fans get all three right, making them ridiculously expensive.
Marketing type people will throw a lot of numbers at you to promote a product, but there are really only two main things you need to look for when shopping for a fan.
The first is CFM or Cubic Feet per Minute. If the manufacturer is really on their game and includes a CFM per Watt metric, use that instead,
Cubic feet per minute is the amount of air that the fan can move at any given speed. Usually, you’ll see three numbers listed: one each for low, medium, and high fan speeds.
CFM/Watt takes that CFM number and factors in how many watts of power the fan uses to get that much airflow. That lets you know how energy efficient a fan is.
In both cases, higher numbers are better.
The second big thing to look for is the Decibel rating (dB rating) of the fan at each speed. The higher the dB, the louder the fan is, so go for lower numbers here.
Remember that your garage is a reasonably small space with lots of surfaces for sound to bounce off of. You want something that will be both effective and quiet.
Why the Air King Oscillating Fan?
It’s surprisingly hard to find a heavy-duty, wall-mounted fan.
The fans at your local Lowe’s or Home Depot look “industrial” but lack the performance and durability you need for your garage.
By contrast, many industrial fans you find online are designed for a warehouse or shop environment. They’re all extremely loud and clunky-looking, and that’s the exact opposite of what I’m looking for.
After seeing a lot of glowing reviews, I chose to go with
They have a dozen different industrial grade wall-mount fans ranging in size from 18″ up to 30″ and power ratings between 1/6th and 1/3rd horsepower.
Eventually, I settled on the
It’s a “quiet fan.”
I’ll explain those quotation marks a little later in the article.
There was a standard (i.e., non-quiet) version of the fan, but the price difference was about $15 for an increase of 10 dB on the low setting. To me, that’s an easy tradeoff since I already knew the
It moves a ton of air.
Here’s the big win. To get a baseline of what I was upgrading from, I contacted Lasko directly because they don’t put any CFM specs on their website.
| Low | Medium | High | |
| Lasko Stanley 655650 20″ fan | 2520 CFM | 2746 CFM | 2932 CFM |
| Air King 99539 24″ fan | 2280 CFM | 4320 CFM | 5030 CFM |
What jumped out at me was that the
It’s lower output on the low setting than the
But it’s pricey
As I mentioned earlier, the Lasko fan is about $100 for a 20″ fan, and the 24″
Even though it’s expensive, It’s easy to justify.
To match the total output of one
Some things are expensive and also worth every penny.
This is one of them.
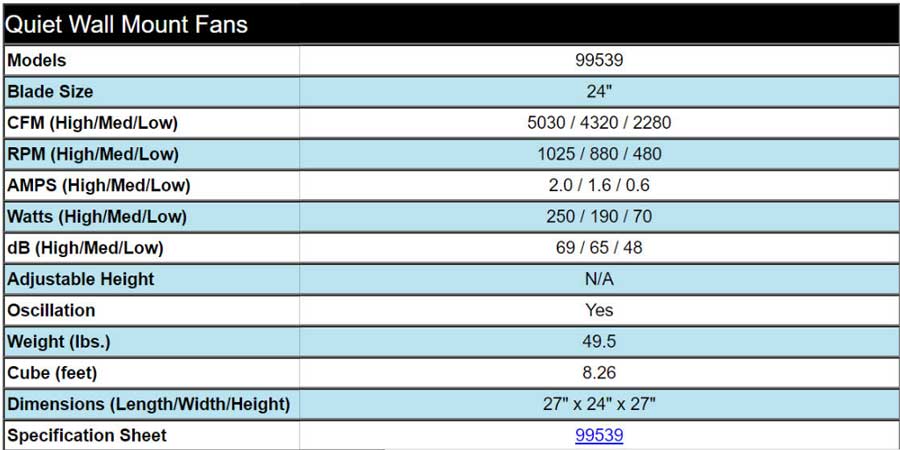
Air King 99539 Specs
I’ve hit on a couple of the more important specs and features, but I’m sure there’s some detail that you’ll want to know that I haven’t covered.
So, here is the spec sheet for the
Now that we’ve got the background let’s get this thing up on the wall and see how it works.
How to Wall Mount the Air King Fan
Alright. Let’s get started.
The motor to the
Step 1: Unpack
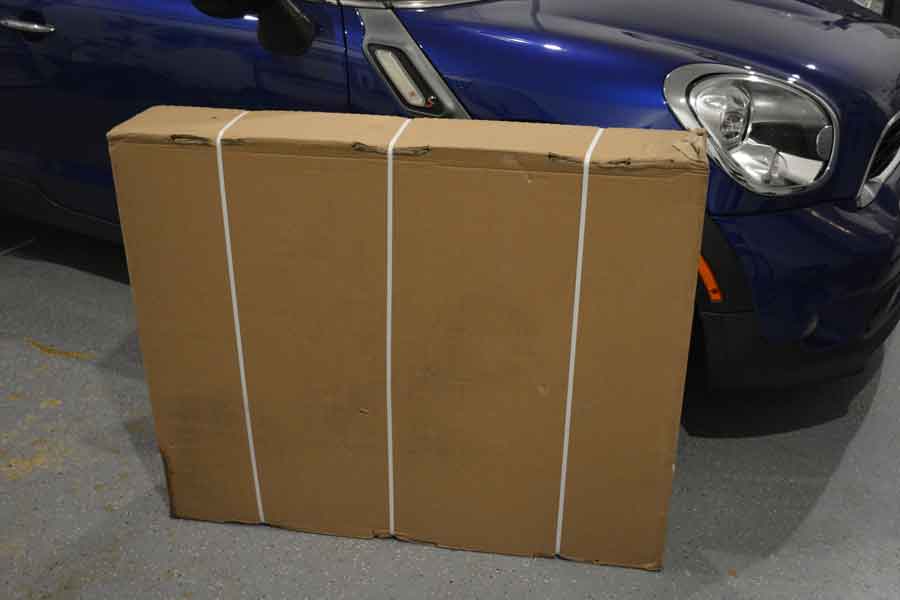
Holy big box, Batman!
There’s a good amount of packing materials in the box to cushion the fan if things shift around in shipping.
The motor is in that small box in the lower-left corner, and the triangular pieces are just empty cardboard to take up space.
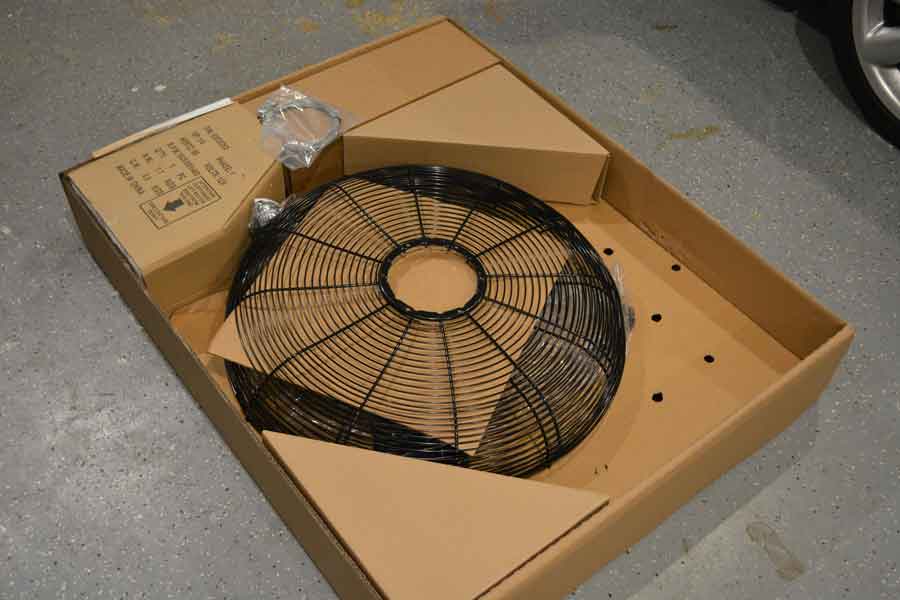
Unfortunately, they don’t include the hardware needed to mount the fan on the wall. It was too late to run to Lowe’s that night, so I ordered some 5/16″ X 2″ stainless hex lag bolts from Amazon.
Even though they don’t include the lag bolts, they specify what kind to get, which I appreciated.
Step 2: Choose where you want to wall-mount the fan.
While I was waiting for the lag bolts to arrive, I removed my old Lasko fan and found the best place to put the
I had to shift where I wanted the fan to go because I couldn’t find a suitable stud where I wanted to put it initially.
Unfortunately, the contractors who built my house didn’t make the back wall straight and level.
Who knew framing your garage was so hard, eh?
I’ve also got a raised section of drywall where they installed my fuse box, which made things a little complicated.
Step 3: Mount the wall bracket to a stud
After a couple of missteps, I found a solid stud that I thought would allow for enough range of motion to get the fan to circulate air through my entire garage.
The 24″ fan is slightly larger than the fan I was replacing, so I had to mount the bracket low enough so the top wouldn’t hit the ceiling.
Measure twice, drill once.
Once the lag bolts arrived, I grabbed my drill and drilled three small pilot holes for the bolts.
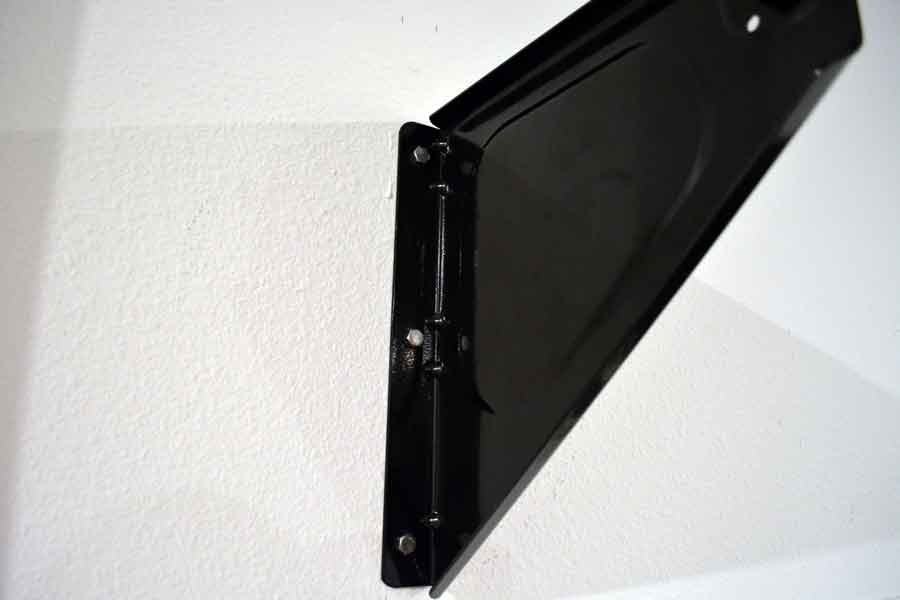
Mounting the bracket and tightening the bolts is pretty straightforward.
It’s best not to completely tighten any bolt at first, which allows you to make any minor changes before it’s all secure.
Don’t forget to double-check that you’re straight and level.
Step 4: Mount the motor
I highly recommend it if you can get an extra pair of hands for this section.
The motor for the

The size of the motor makes it really awkward to try to balance it while you’re tightening the bolt that secures it to the wall bracket. Since I didn’t have a helper handy, I had to use my shoulder and the side of my head to brace it while my hands were working on the bolt.
Probably not the safest of things, but it got the job done.
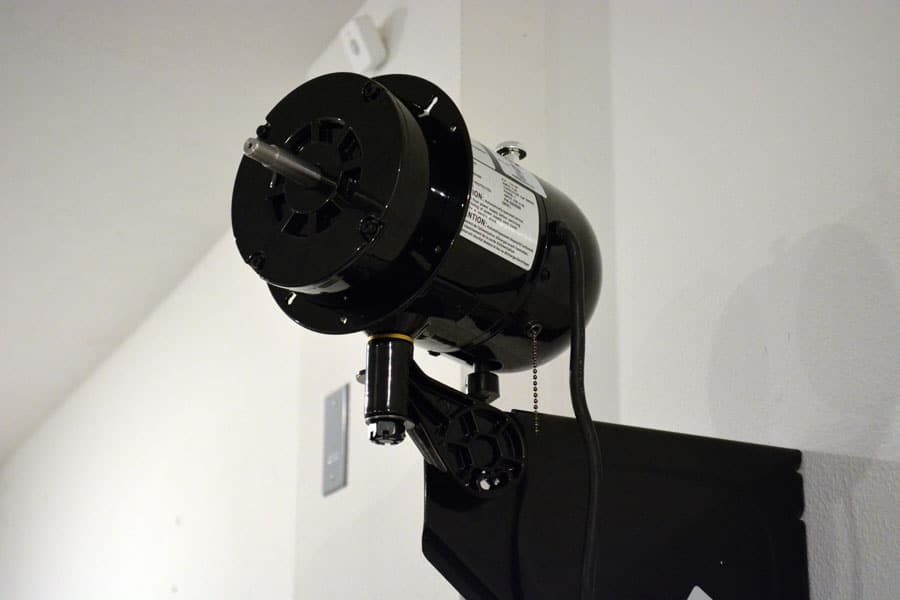
After securing the main bolt, a tiny adjustment handle needs to be attached between the bracket and the motor arm.
Step 5: Back fan cage
My one complaint in the entire process is coming up.
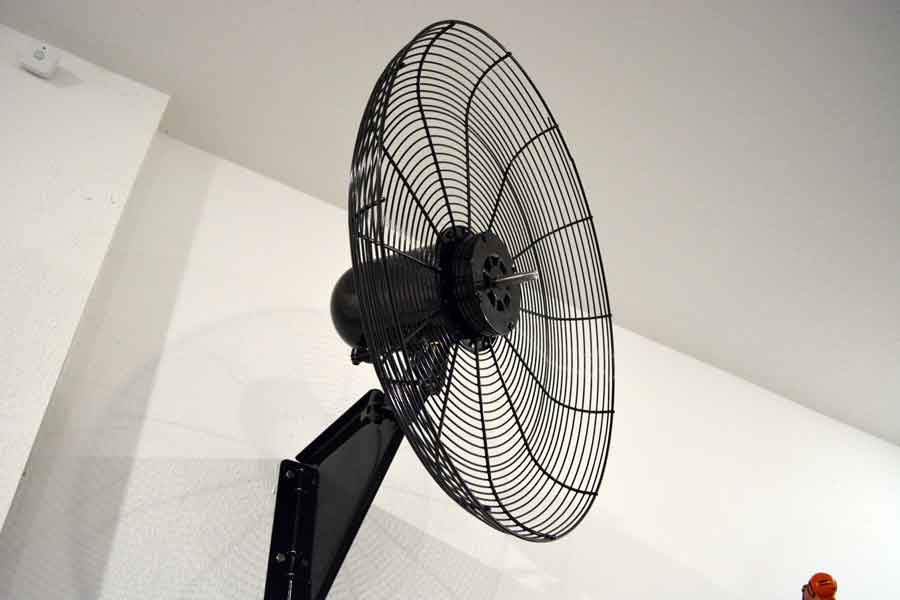
Air King gives you six small screws to attach the back of the fan’s cage to the motor mount.
The problem is that I stripped and\or cross-threaded most of those screws.
In theory, this should be a simple step. I mean…six screws. Come on.
What frustrated me most is that the quality of every other part is excellent with this fan, and it feels like they skimped on something simple.
Step 6: Attach the fan blade
The fan blade attached much easier than the back cage.
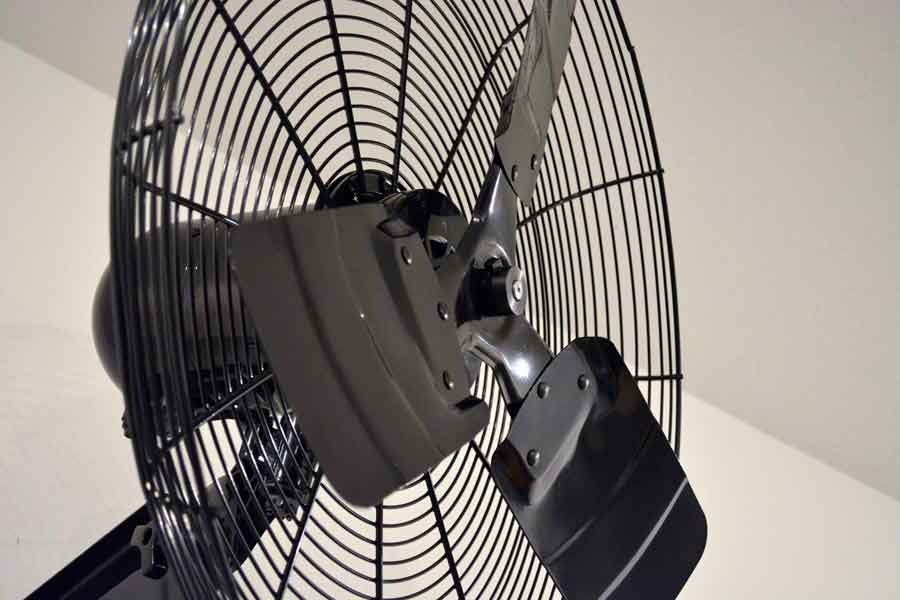
There’s one bolt on the center hub that you tighten down with a heavy adjustable wrench.
You want to make sure this is secure, or the blade can vibrate off the center and get damaged during use.
Step 7: Front cage and finish up.
Attaching the front cage is a bit of a struggle.
The cage has hooks that loop over the back cage and hold it secure. The challenge is that they naturally want to fall inside the back cage, and you have to pry them on with a heavy screwdriver.
Seriously. That’s in the instructions.
I recommend starting from the top and working your way down both sides simultaneously. One hook on the left, followed by the hook on the right.
That last hook will be brutal to get lined up and snap in no matter what. You definitely don’t want to take this fan apart to clean it.
At least it’s secure, right?
It may take a few minutes to get everything secure, but it’s time to enjoy the cool breeze.
Air King Industrial Garage Fan: My Review
Remember when I said earlier that I’d explain what I meant by a “”quiet”” fan?
Quiet is relative. My Lasko fan sounded like a small engine, even on the low setting. I’m used to just hearing the noise of the wind moving with my Haiku fans, so that drove me up the wall.
I got a decibel sensing app for my phone to test both fans. I’m more concerned about the difference between the two than the numbers themselves.
Not that I don’t trust the app to be very accurate, but I don’t trust the app to be very accurate.
The Lasko fan returned 46 dB on Low, 59 dB on medium, and 68 dB on high. The
Not terribly different results, but I’m pretty happy when you consider that the
What I like: The airflow is impressive. I love the build quality (except those six screws) and the oscillating feature. I also like that it has a good, old-fashioned pull chain to change the speed.
What I don’t like: The cost is a tough pill to swallow. It’s not as quiet as my interior home fans, but I can live with it since this is in my garage.
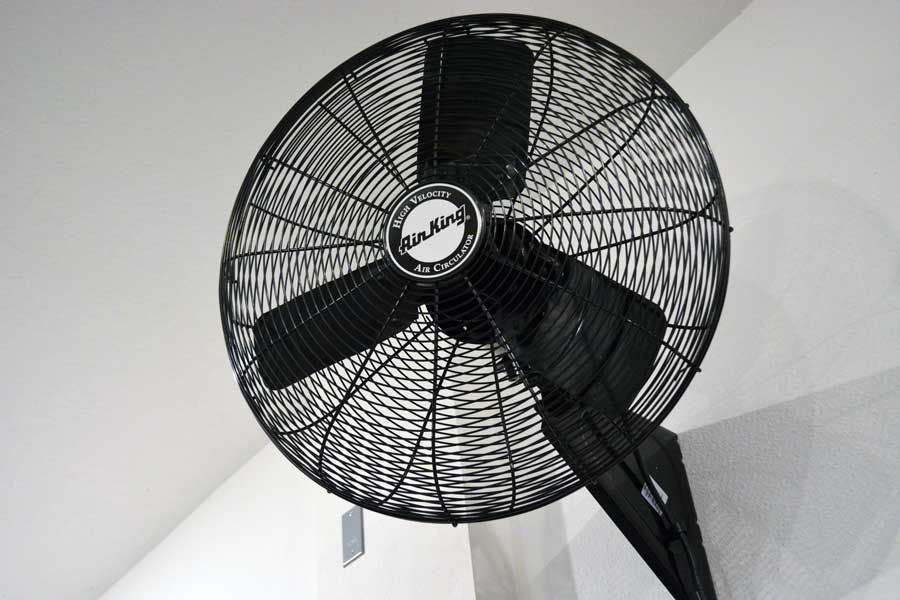
The Verdict
Even though the fan is over $200, I’m glad I bought it.
The oscillating feature helps cool down the garage quickly, especially with the sheer volume of air this fan moves.
It’s not as quiet as I’d like, but it’s still a significant improvement over my old fan. I recommend leaving it on Medium most of the time. The High setting sounds like a jet engine, and the Low setting doesn’t move enough air to cool me down in the hot Florida summers.
Check out my guide to buying a garage fan for more great tips. It has everything you need to know to get the best garage fan without spending a fortune!
- Three Speed (HiMedLow):
- 8780 cfm (High) @ 72 db
- 7480 cfm (Med) @ 70 db
- 5570 cfm (Low) @ 64 db
The post Why Air King Makes the Best Wall Mount Garage Fans [Review] appeared first on Garage Transformed.

