

Check out these 10+ Cricut Ideas For Classrooms and learn how easy a Cricut makes customizing and personalizing your room.
This post was sponsored by Cricut. All thoughts and opinions are mine alone.
It’s hard to believe it’s time to go back to school already. It feels like summer just started! But before kids can come back to class, teachers have to get their classrooms ready! For some teachers that means making sure things are organized, put where they belong and ready for a new set of kids to enjoy. While other teachers enjoy spending time decorating their classrooms to make it feel more like home. And some teachers find themselves somewhere in the middle. No matter what style or classroom you have, your Cricut machine can help getting your classroom ready for students easier!
Cricut Ideas For Classrooms
In today’s post I’ll go over some of the ways I used a Cricut to help organize and decorate an elementary school classroom. Even if you teach upper grades you can use most of the ideas too! We’ll be:
- Decorating the bulletin board, front door and back wall
- Labeling cubbies and backpack/coat hooks
- Creating an easy to use in/out tracker
- Labeling book bins and binders
- Organizing supplies by table
- Creating a large goal tracker
- Making fun pillows for a reading center

I had the opportunity to make a new friend this year and help Mrs. Glennie decorate her classroom this summer! She had already done a really great job at organizing and decorating her classroom, we were able to use our Maker 3 and Joy to add just a little extra.
Getting Started
We first started out with her color palette and theme. She has this really cute mountain fabric from Hobby Lobby and wanted to do more with the mountain theme in her classroom. Then we picked out the colors in vinyl that best matched the fabric. We are using these colors throughout the projects in her classroom:

- Smart Removable Vinyl in Aqua, Black, Mint and White
- Smart Matte Metallic Vinyl in Silver
- Premium Pearl Metallic Vinyl in Maize
If you’re going to be ordering Cricut supplies and you’re shopping on Cricut.com, use code TF10 to save 10% and get FREE shipping on all $50+ orders. That’s on top of the 10% discount Cricut Access members get automatically! Learn more about Cricut Access here.
All of the designs we used in her classroom are available in Cricut Design Space. I’ll be linking each of the Design Space canvases to each project so you can easily recreate them too! It’s also really easy to make extras if you have a new student throughout the year. She actually had one more student added to her class the day before school started and we were able to make them their own personalized supplies from below in less than 10 minutes!
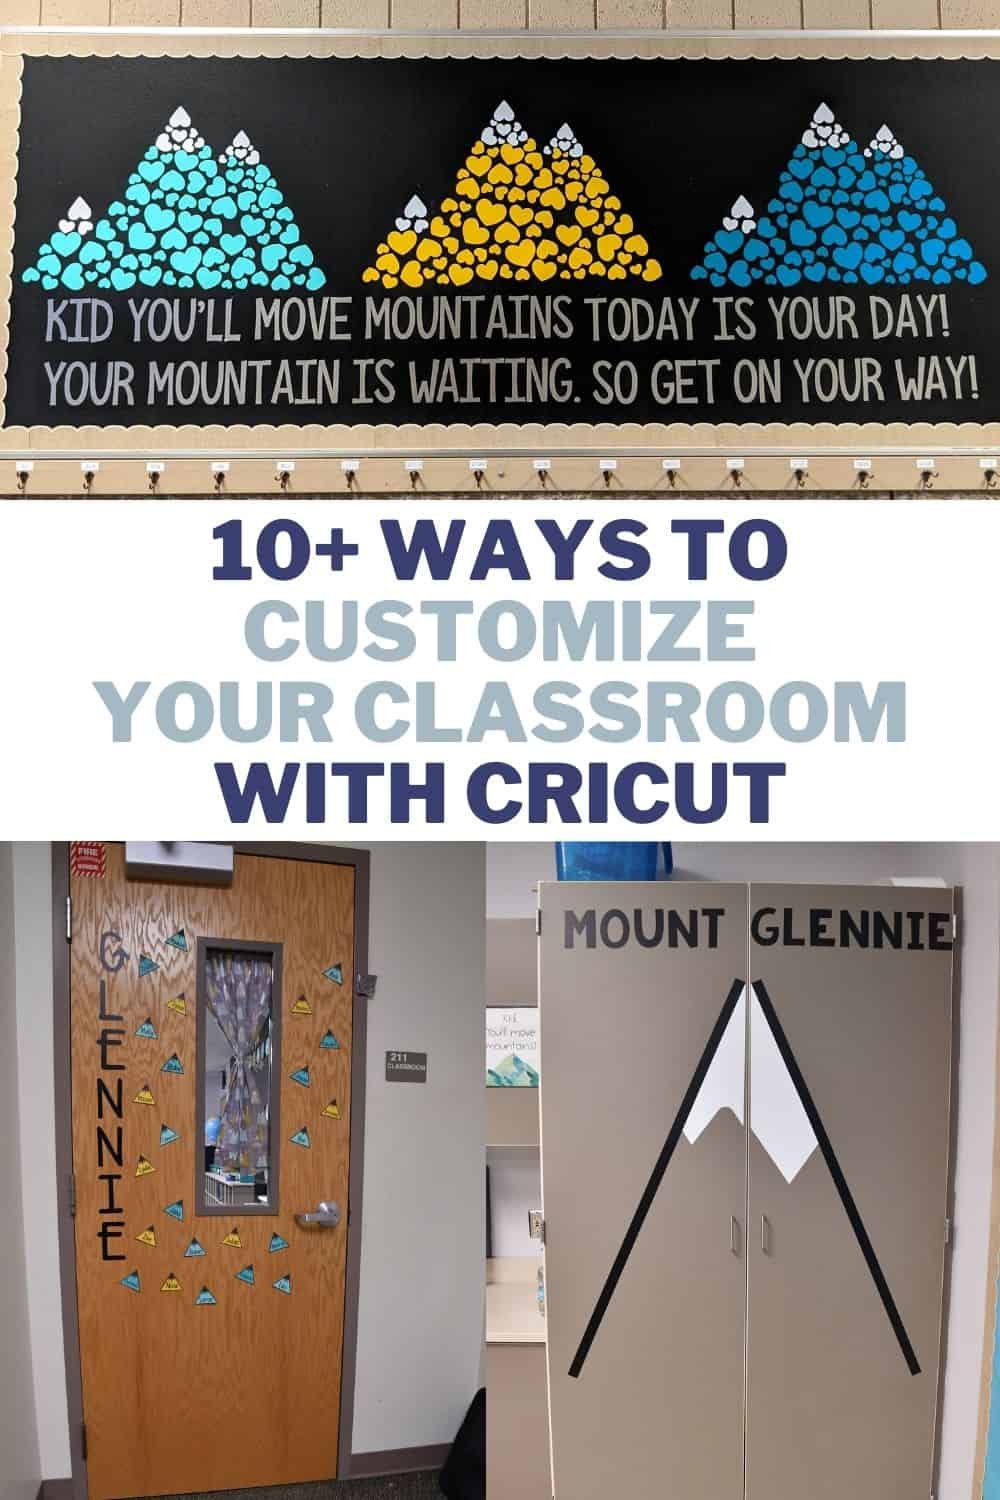
How To Decorate A Bulletin Board with Vinyl
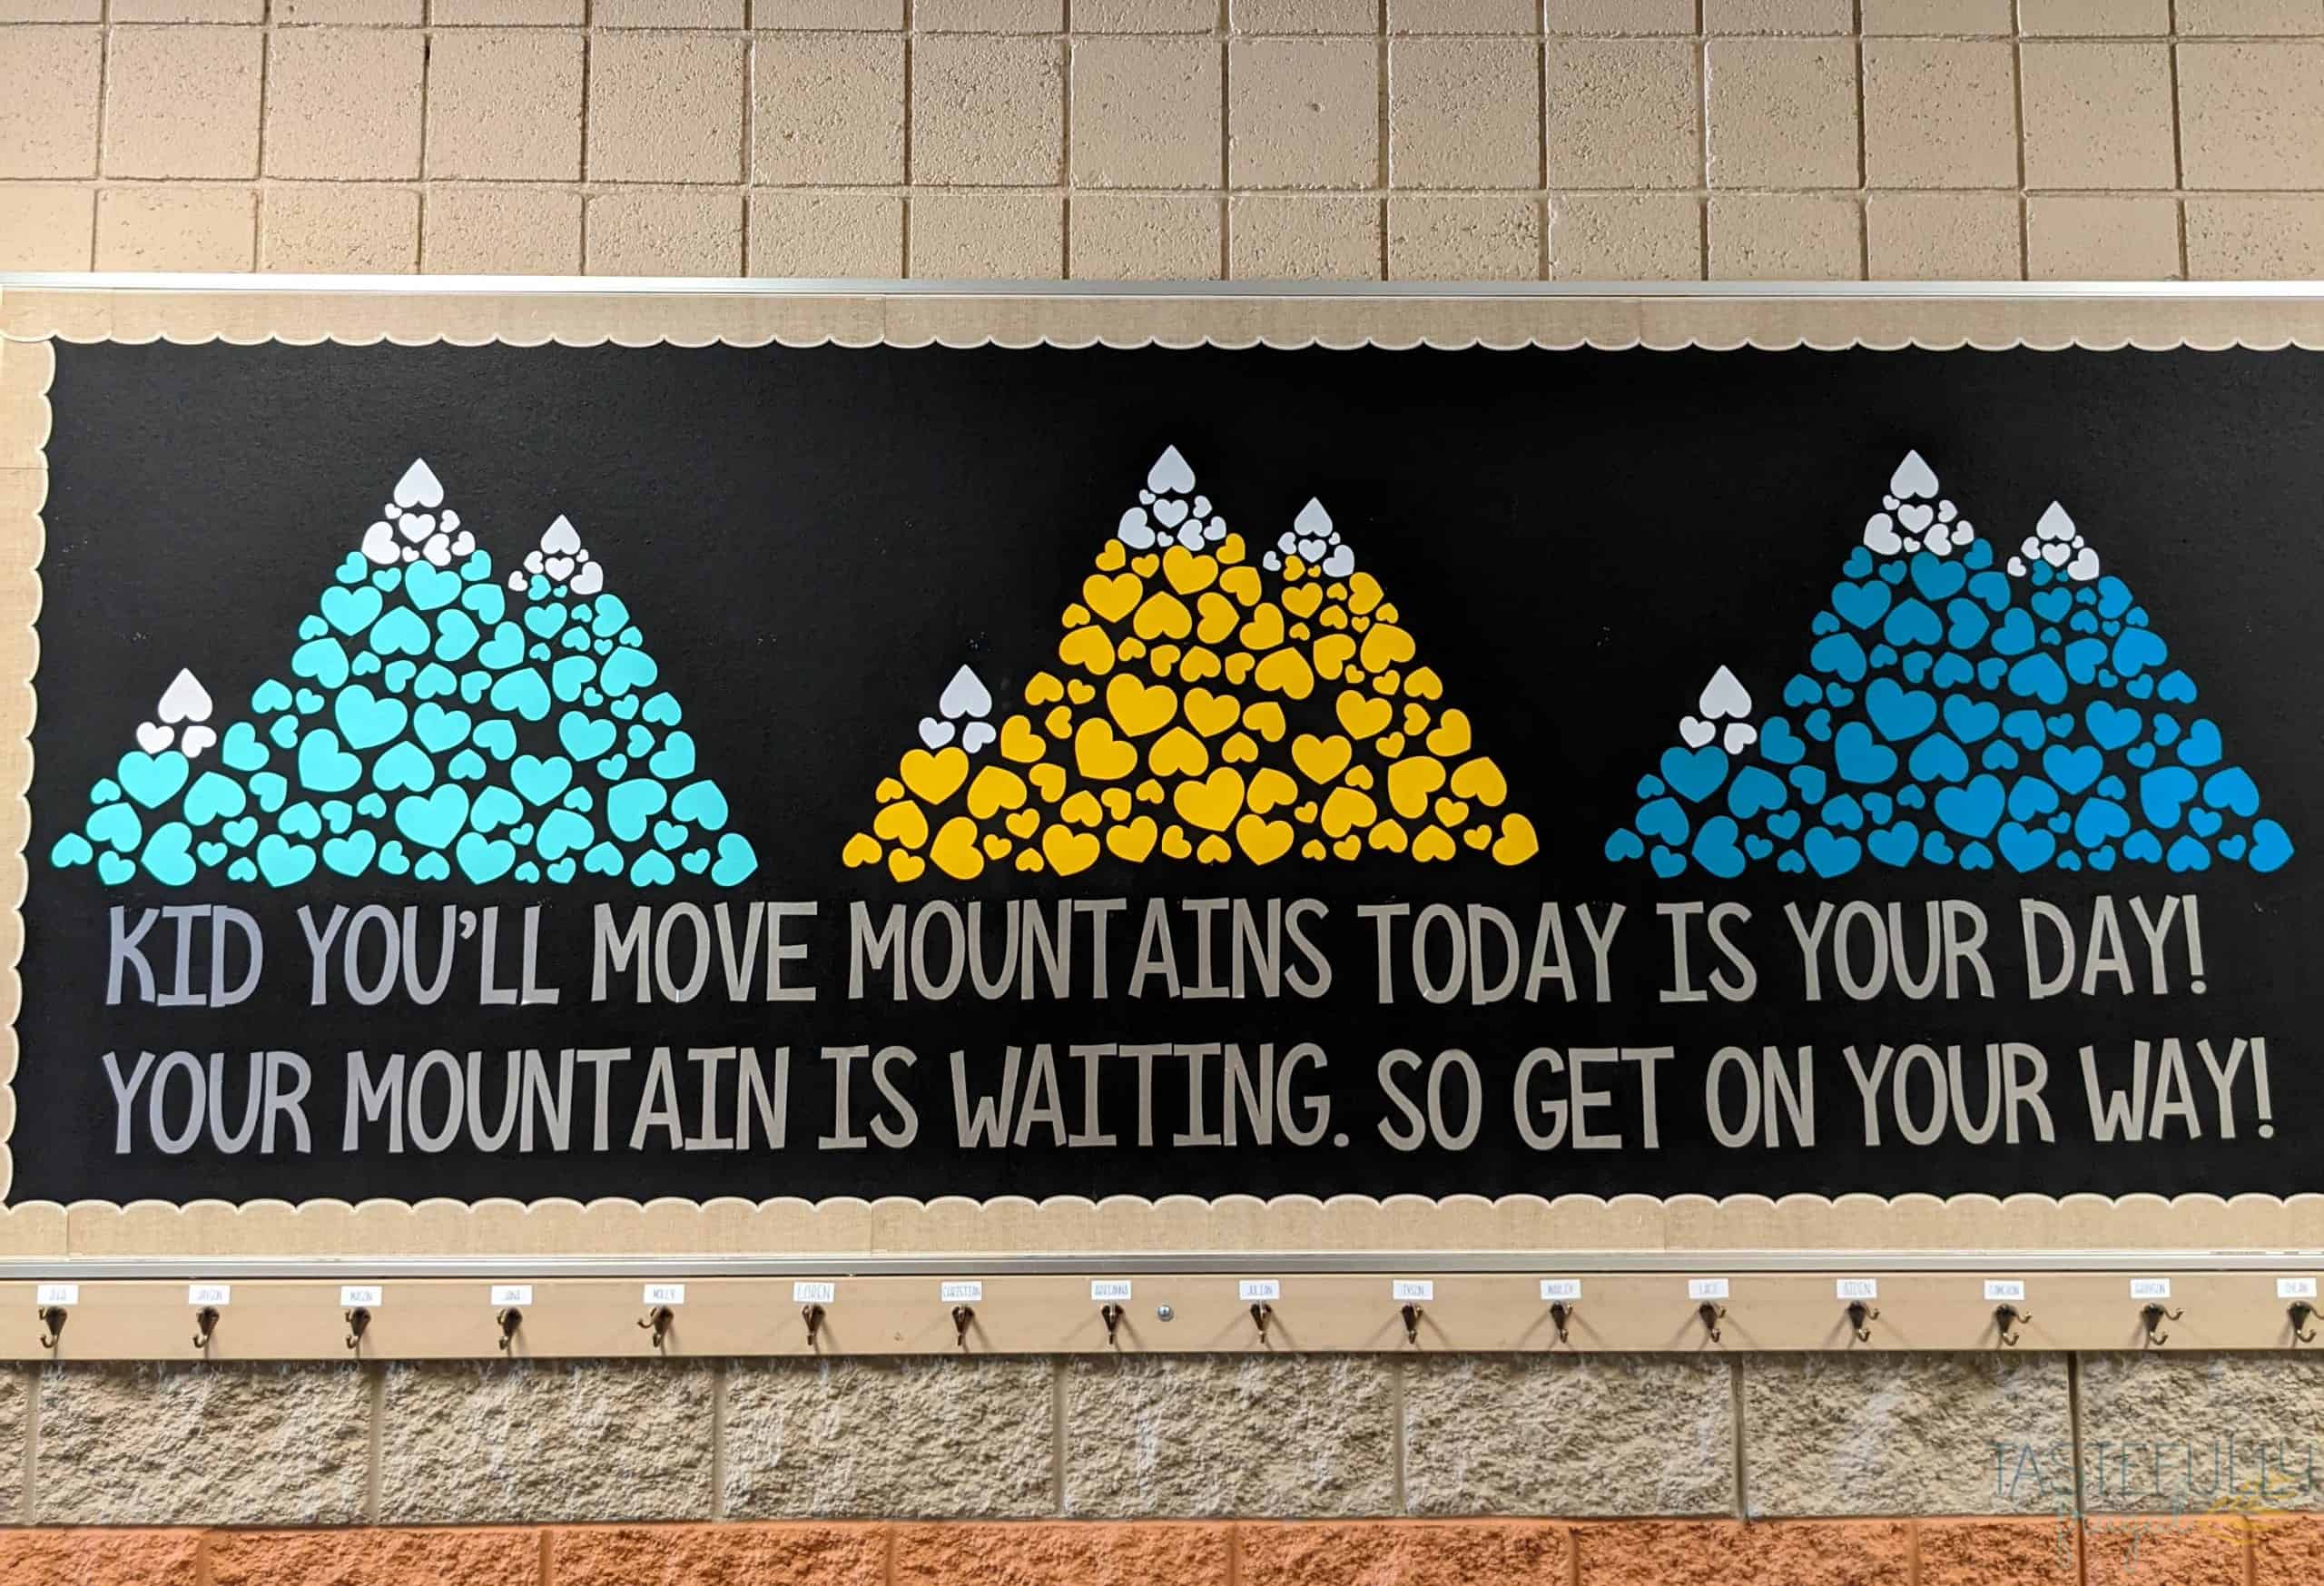
The first (and biggest) project we did was the bulletin board outside her classroom. We kept with the mountain theme and added a quote from Dr. Seuss at the bottom. Here is the Design Space canvas for this design. This design was HUGE at over 9 ft long but was so fun to see come together. Here are a few tips when you are working on a big project like this:
- Have as few cuts as possible. Because the quote wasn’t taller than 11.7″ we were able to use a 21′ roll of Smart Vinyl to do it all in one cut. The Maker 3 cut out the whole 9 feet in less than 4 minutes! The long cut ability of the Maker 3 made cutting all the vinyl for these projects SO much faster and easier. If you don’t have the Maker 3 you can separate the text into 2′ long pieces.
- We had to slice the Mountains into multiple pieces because they are larger than the maximum cut size (with the Maker 3 the max cut length is 75′ and the height is 11.7′ – these mountains were about 2’x3′. As you can see in the Design Space Canvas here I made each layer a different color to make sure I didn’t accidentally cut two top pieces in the same color.
- This mountain design was perfect for an off the mat project (a design that is larger than the max cut size), because we didn’t have to have cuts through any of the designs. I just made a copy of the original design and used the CONTOUR tool to remove the hearts from the top half of the first design and the bottom half of the second design and they lined up perfectly.
- When applying your design on the bulletin board, start with the words and line it up at both edges and through the middle along the bottom of the bulletin board. That way you can make sure it goes on straight and is centered.

Decorating Classroom Door with Cricut
As a room mom, one of my favorite things to do is decorate the teacher’s door! We kept things pretty simple with this door and had her name going down vertically and then added each student’s name to a mountain. Younger kids love seeing their names on things and this is a fun way to get them even more excited to start school.
For the name we used a longer roll of smart vinyl again and made it about 4′ tall. When you’re creating vertical names like this (and with the binders I’ll show you in just a bit) in Design Space, Put each letter on it’s own line. So for example here I typed G *enter* L *enter* E *enter* N *enter* N *enter* I *enter* E.
For the mountains I used card stock as the background and iron-on vinyl for the mountain caps and and names. I like using iron-on vinyl on card stock for projects that may get touched a lot and need a little more stability. I used the EasyPress Mini at the lowest setting for 15 seconds to apply the iron-on vinyl. When you’re cutting your iron-on vinyl MAKE SURE TO MIRROR before you cut. Here is the Design Space canvas for the front door design.
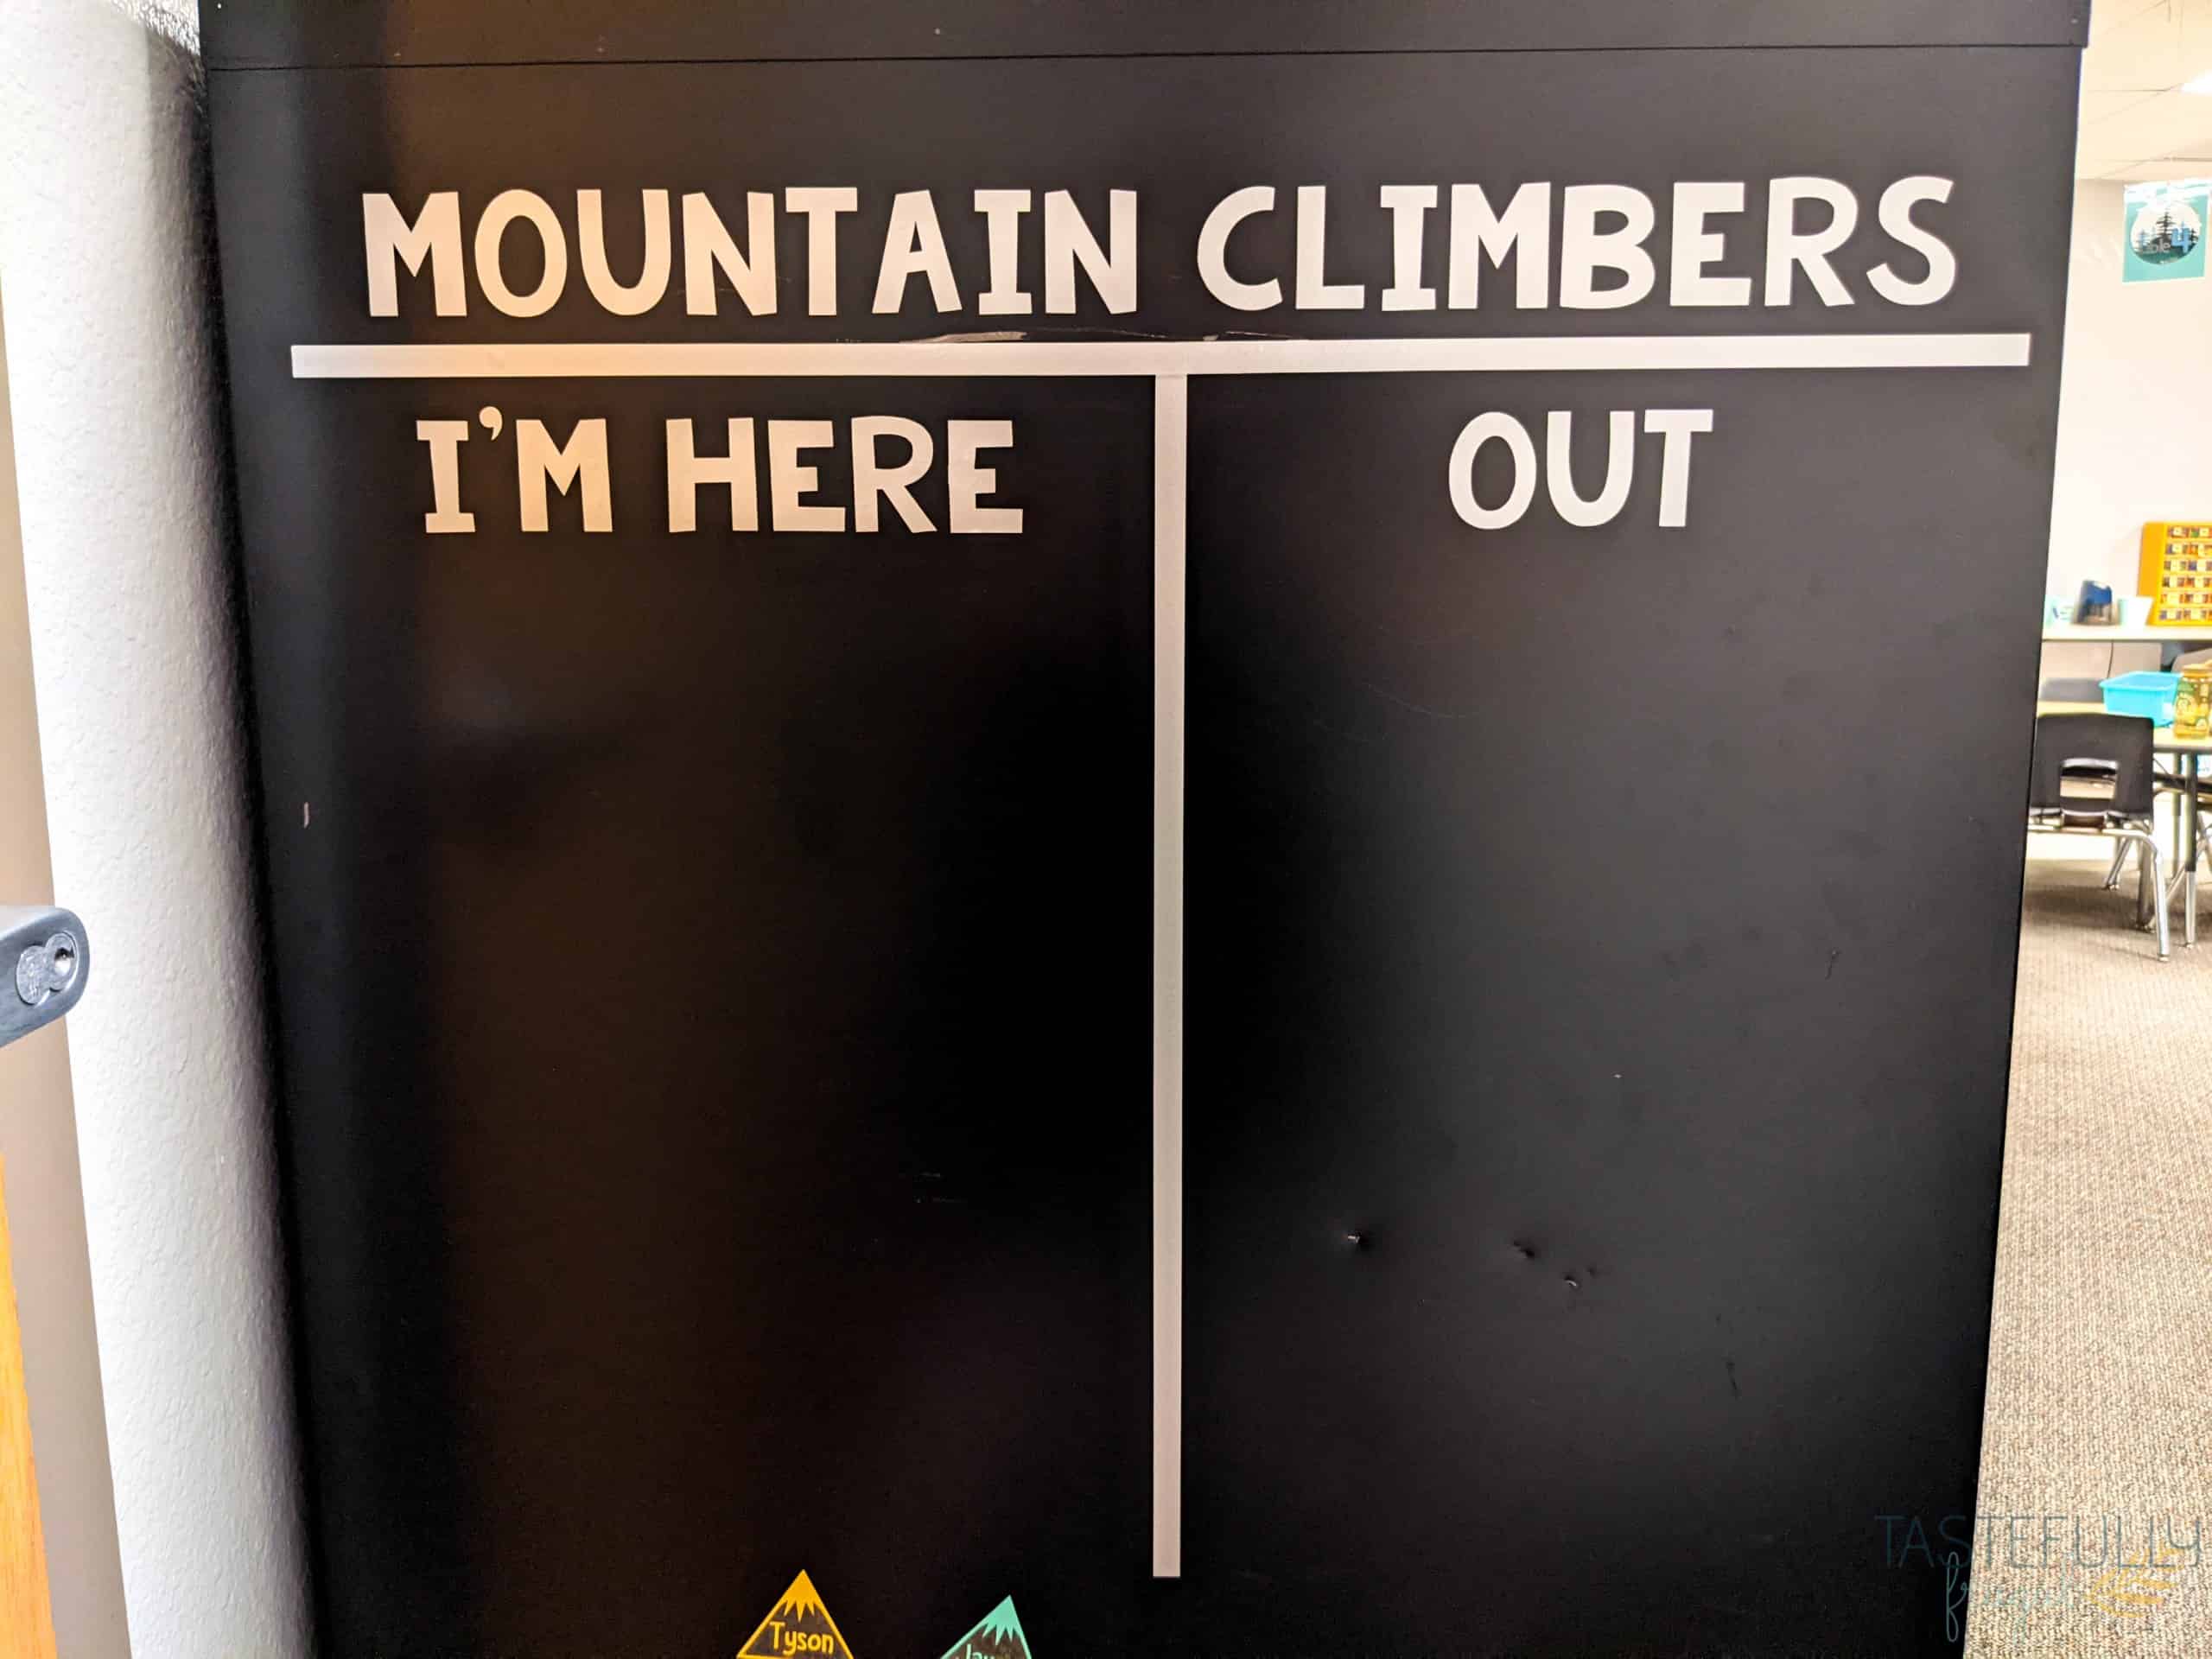
Mountain Climbers In/Out
This is a fun and easy way for teachers to quickly see what students are absent and/or in the restroom or with a specialist. We used the matte metallic silver for the words and lines. For the students’ names we used the same mountain design as we did on the front door but instead of card stock I used these magnet sheets and cut them out with the knife blade. I found the tooling leather 6oz setting worked great!
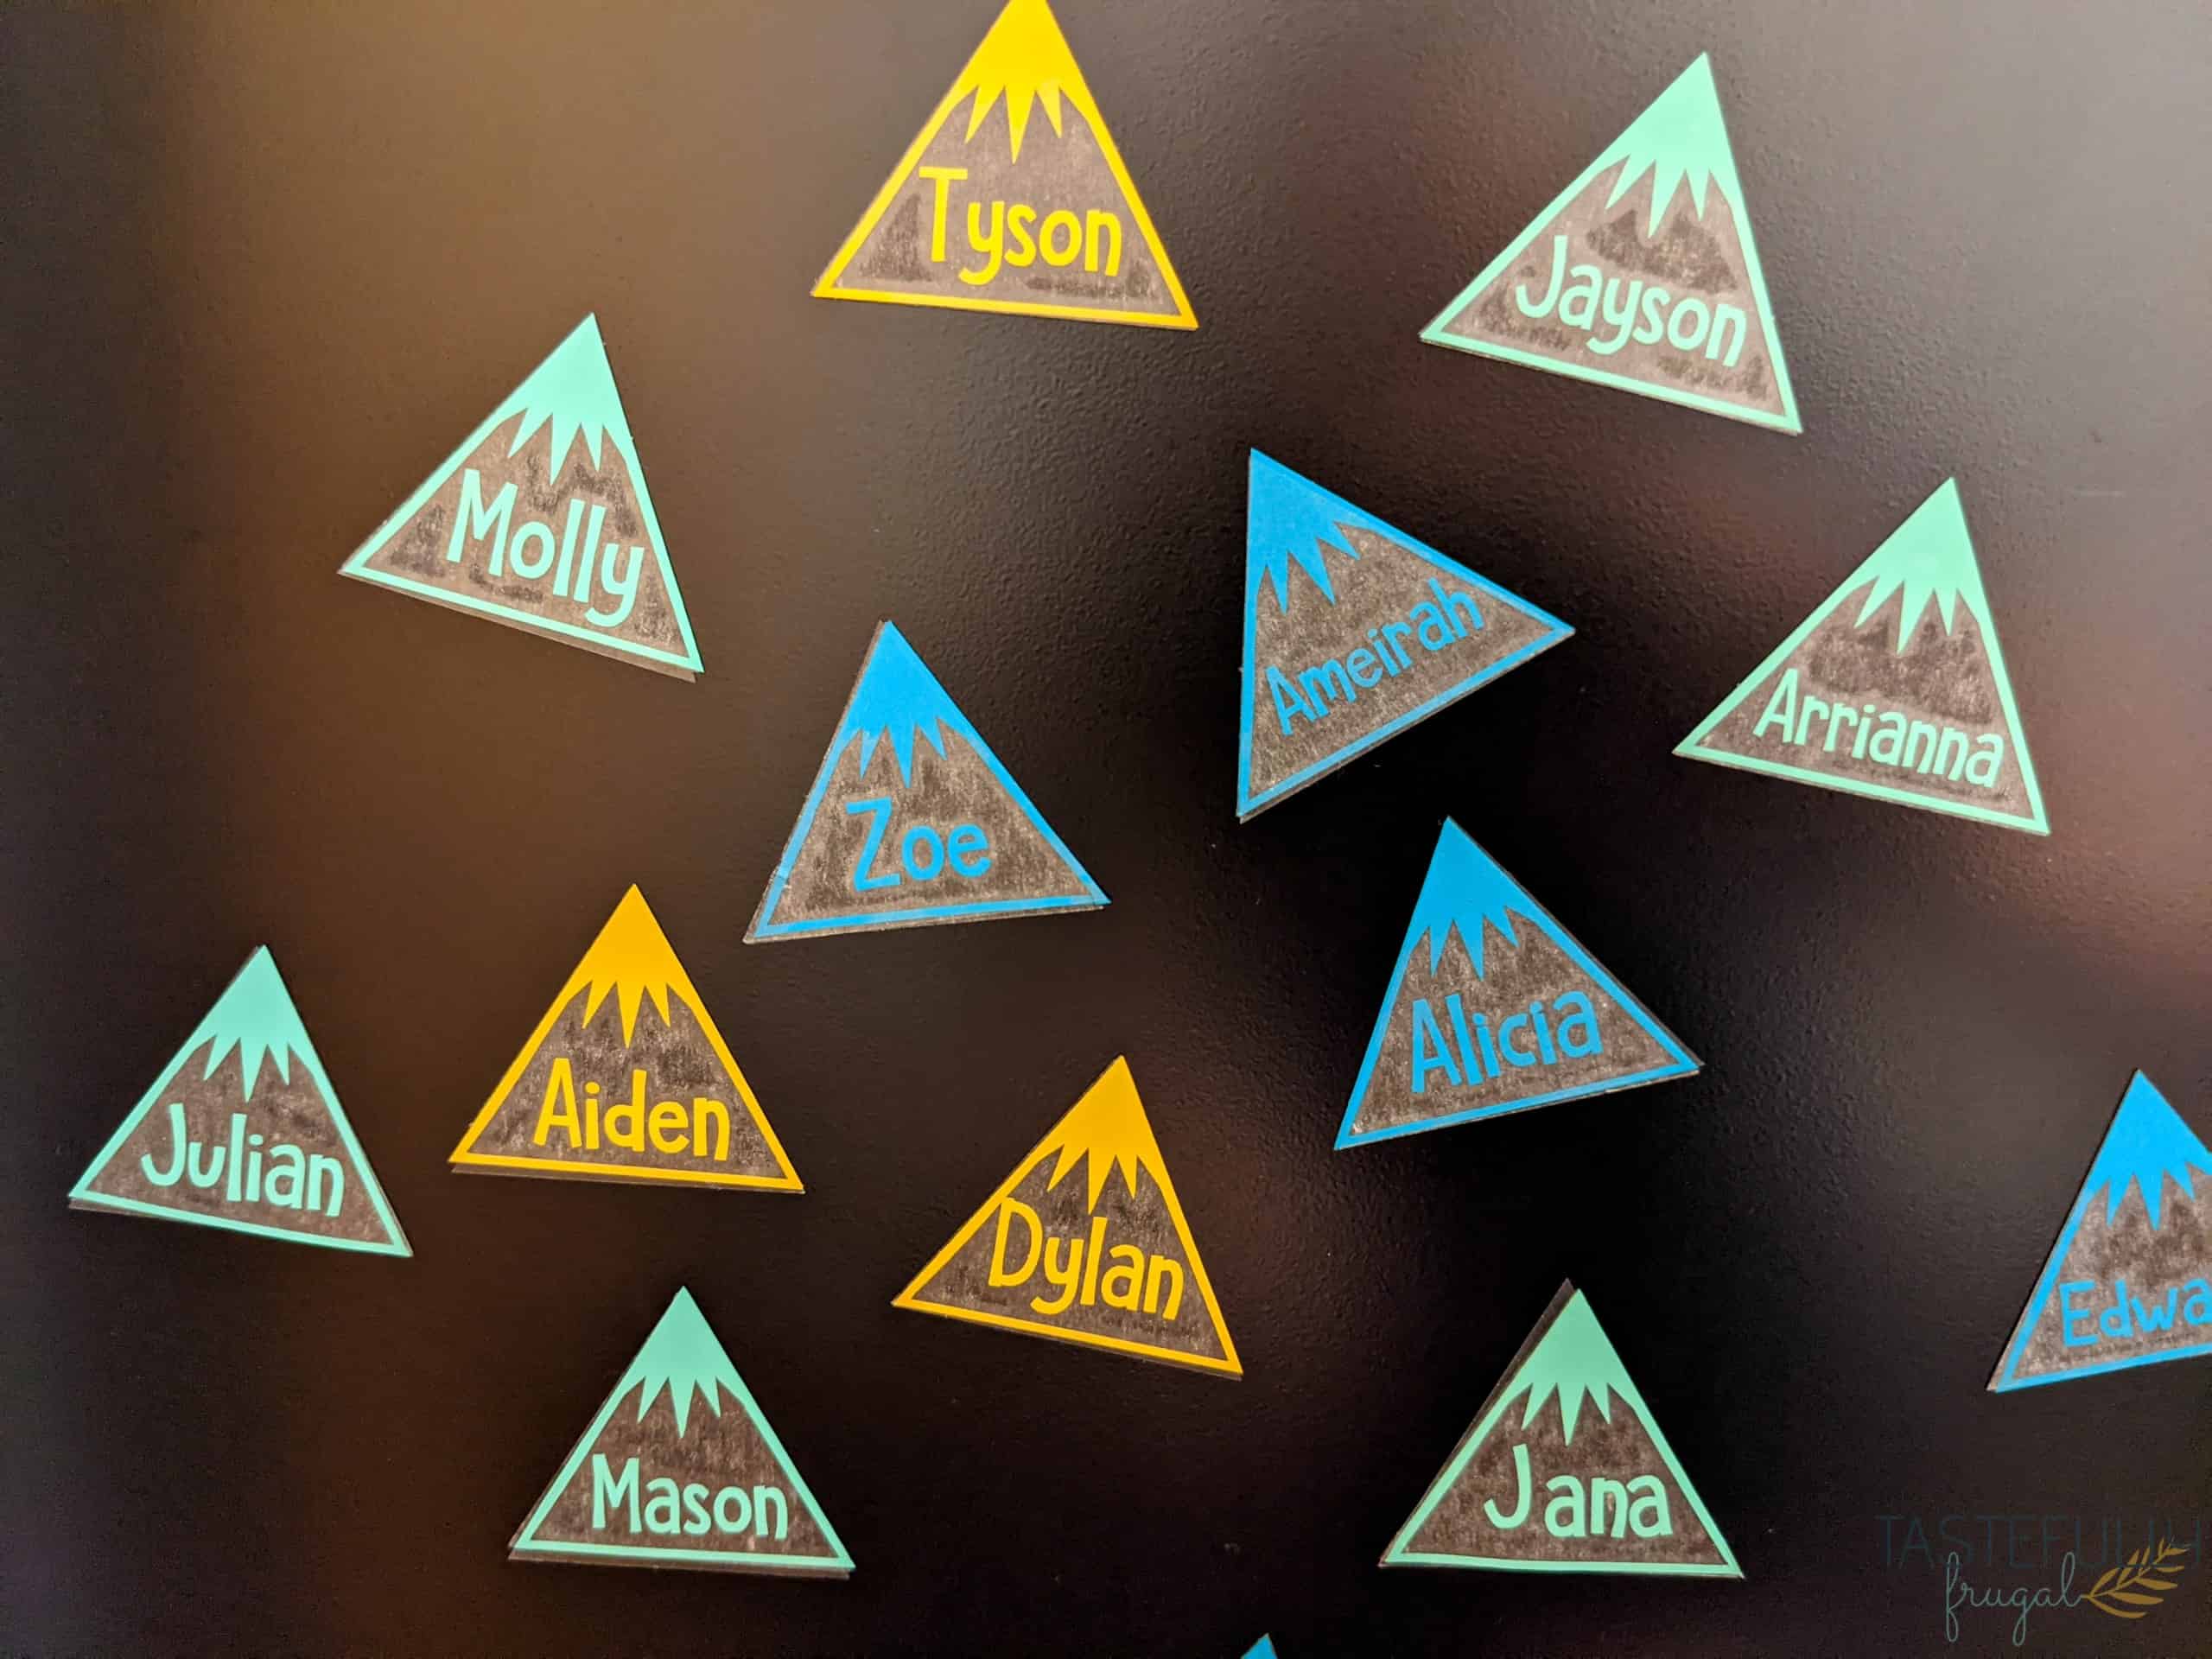
We used the Smart Vinyl in Aqua and Mint and Pearl Metallic in Maize for the mountain designs and names. We used transfer tape to apply the vinyl to the magnets. Here is the Design Space canvas for this project.
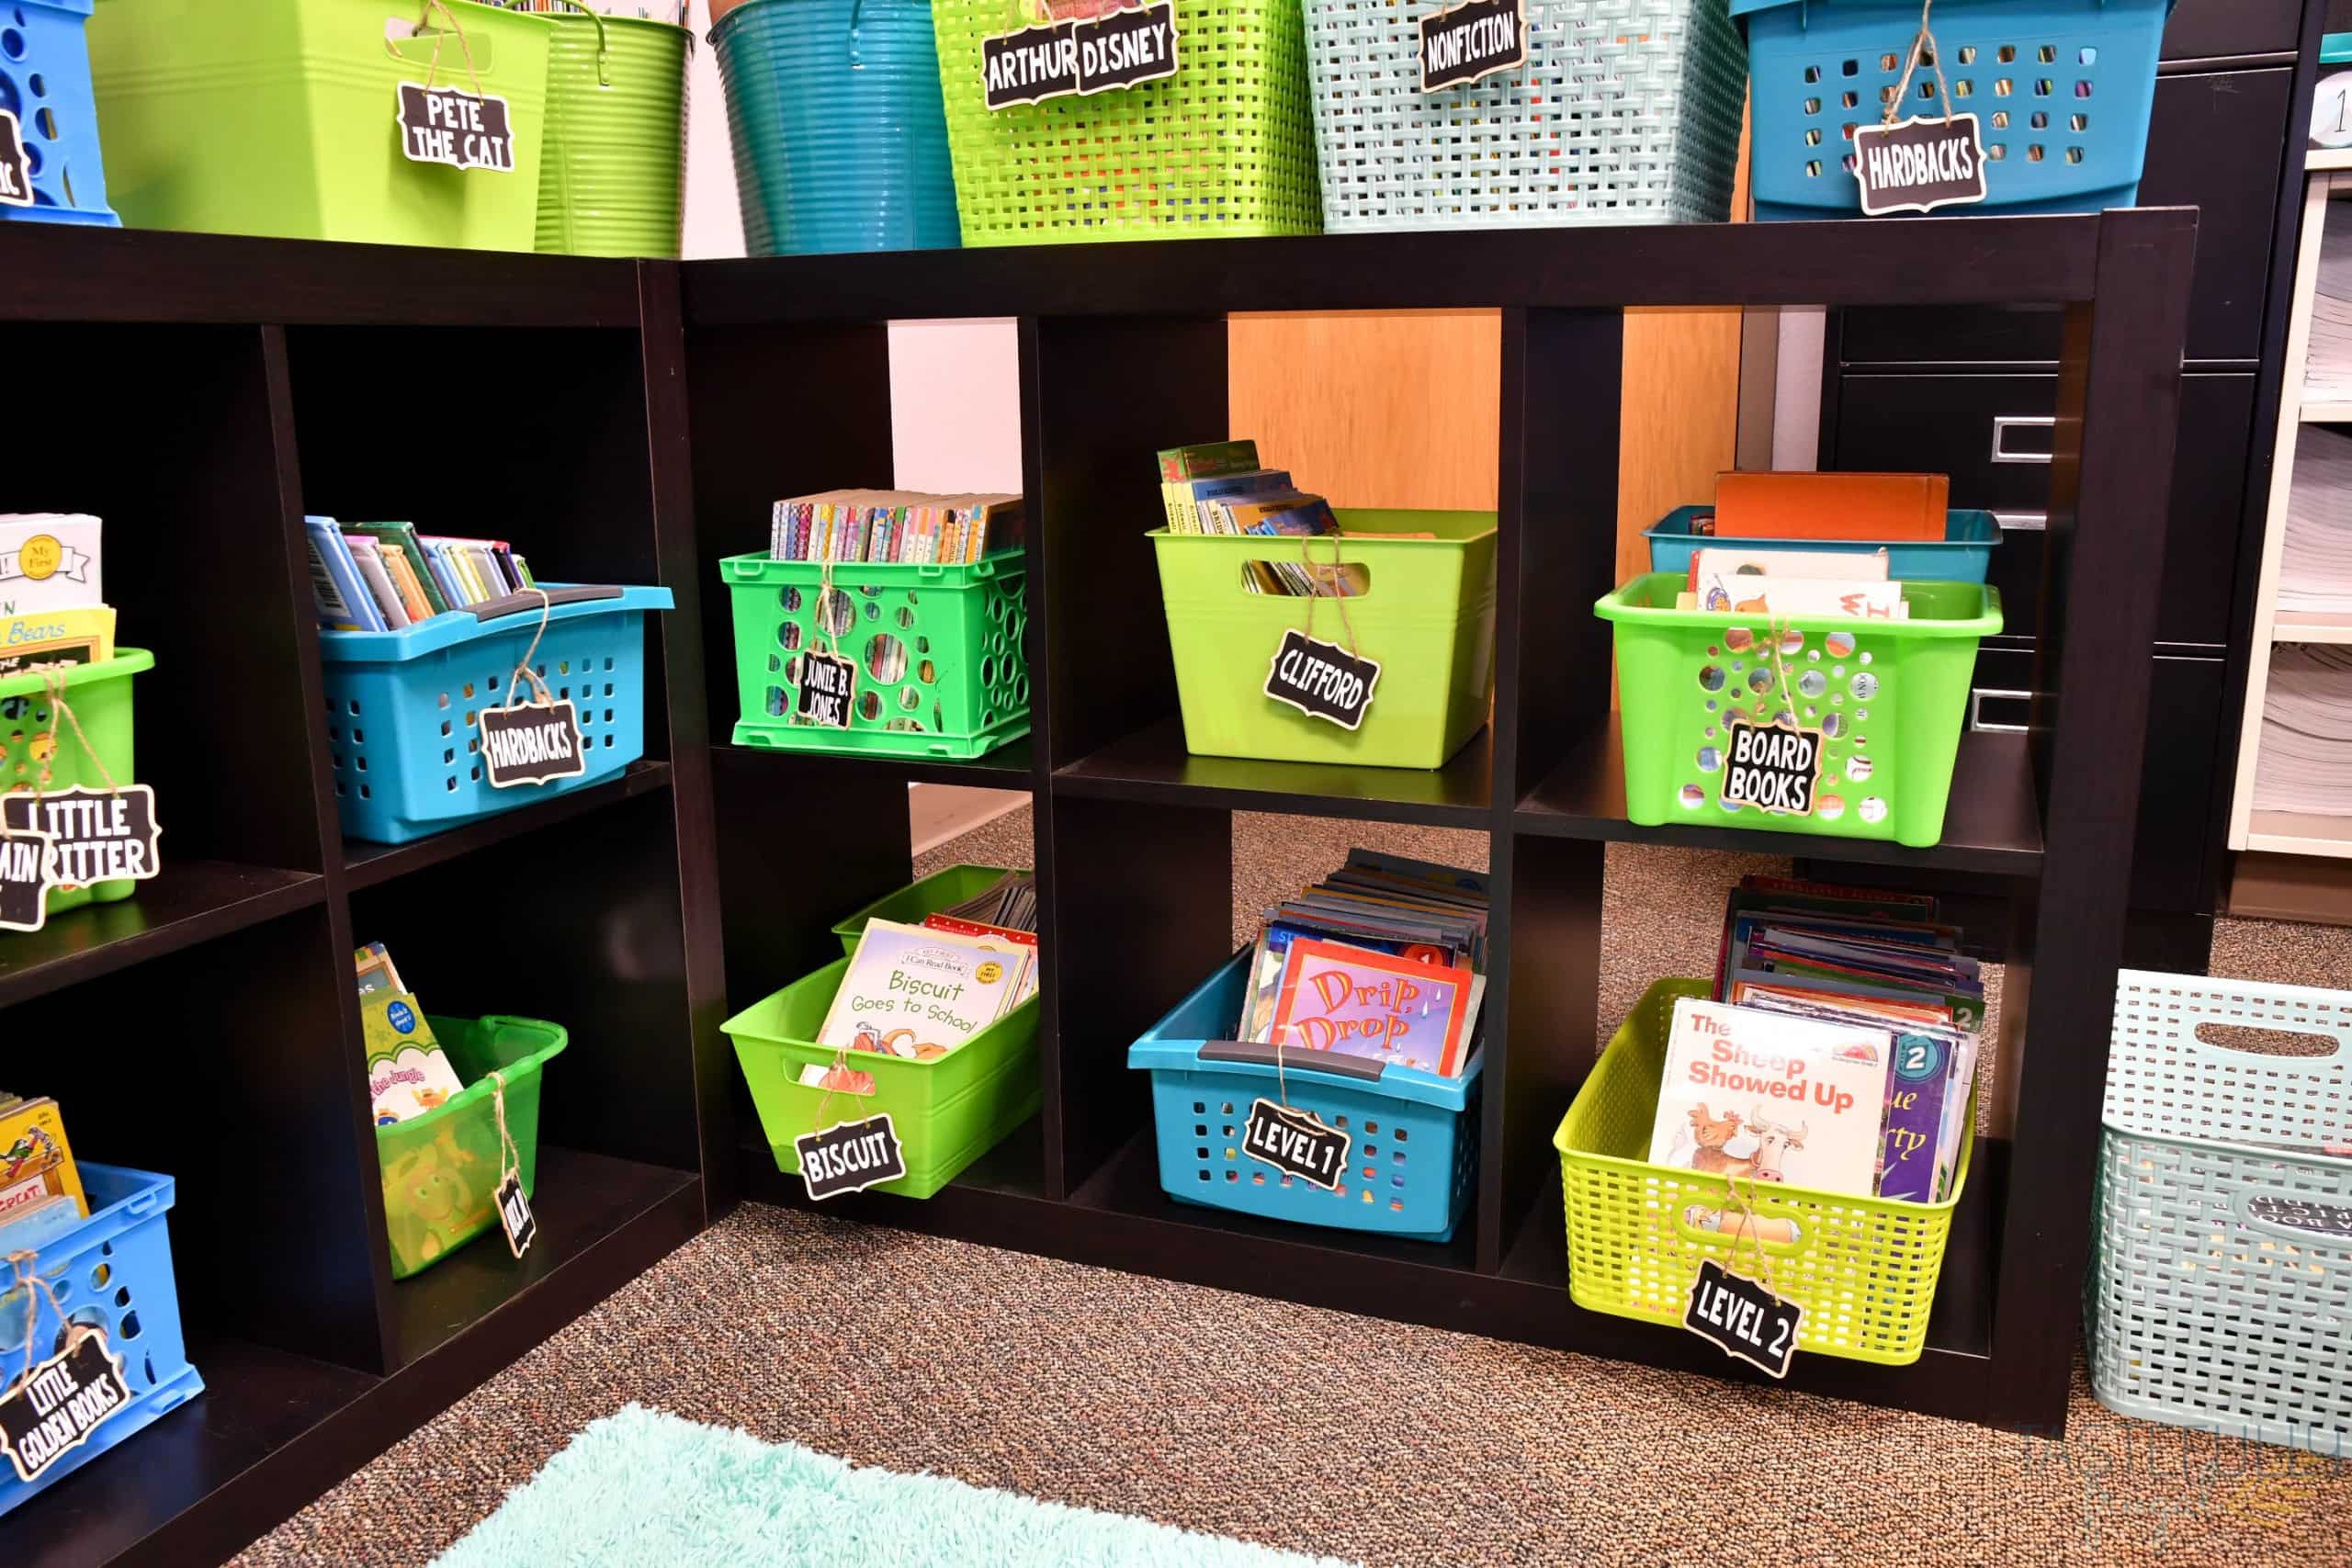
Book Bin Tags
Mrs. Glennie has such a great collection of books for her students to read! She already had them sorted into categories so it was really easy to make tags so her students can easily find their favorite books to read! We used these chalkboard tags from Amazon and added vinyl to them. Then we just tied the tags onto the baskets. Here is the Design Space canvas for this project.
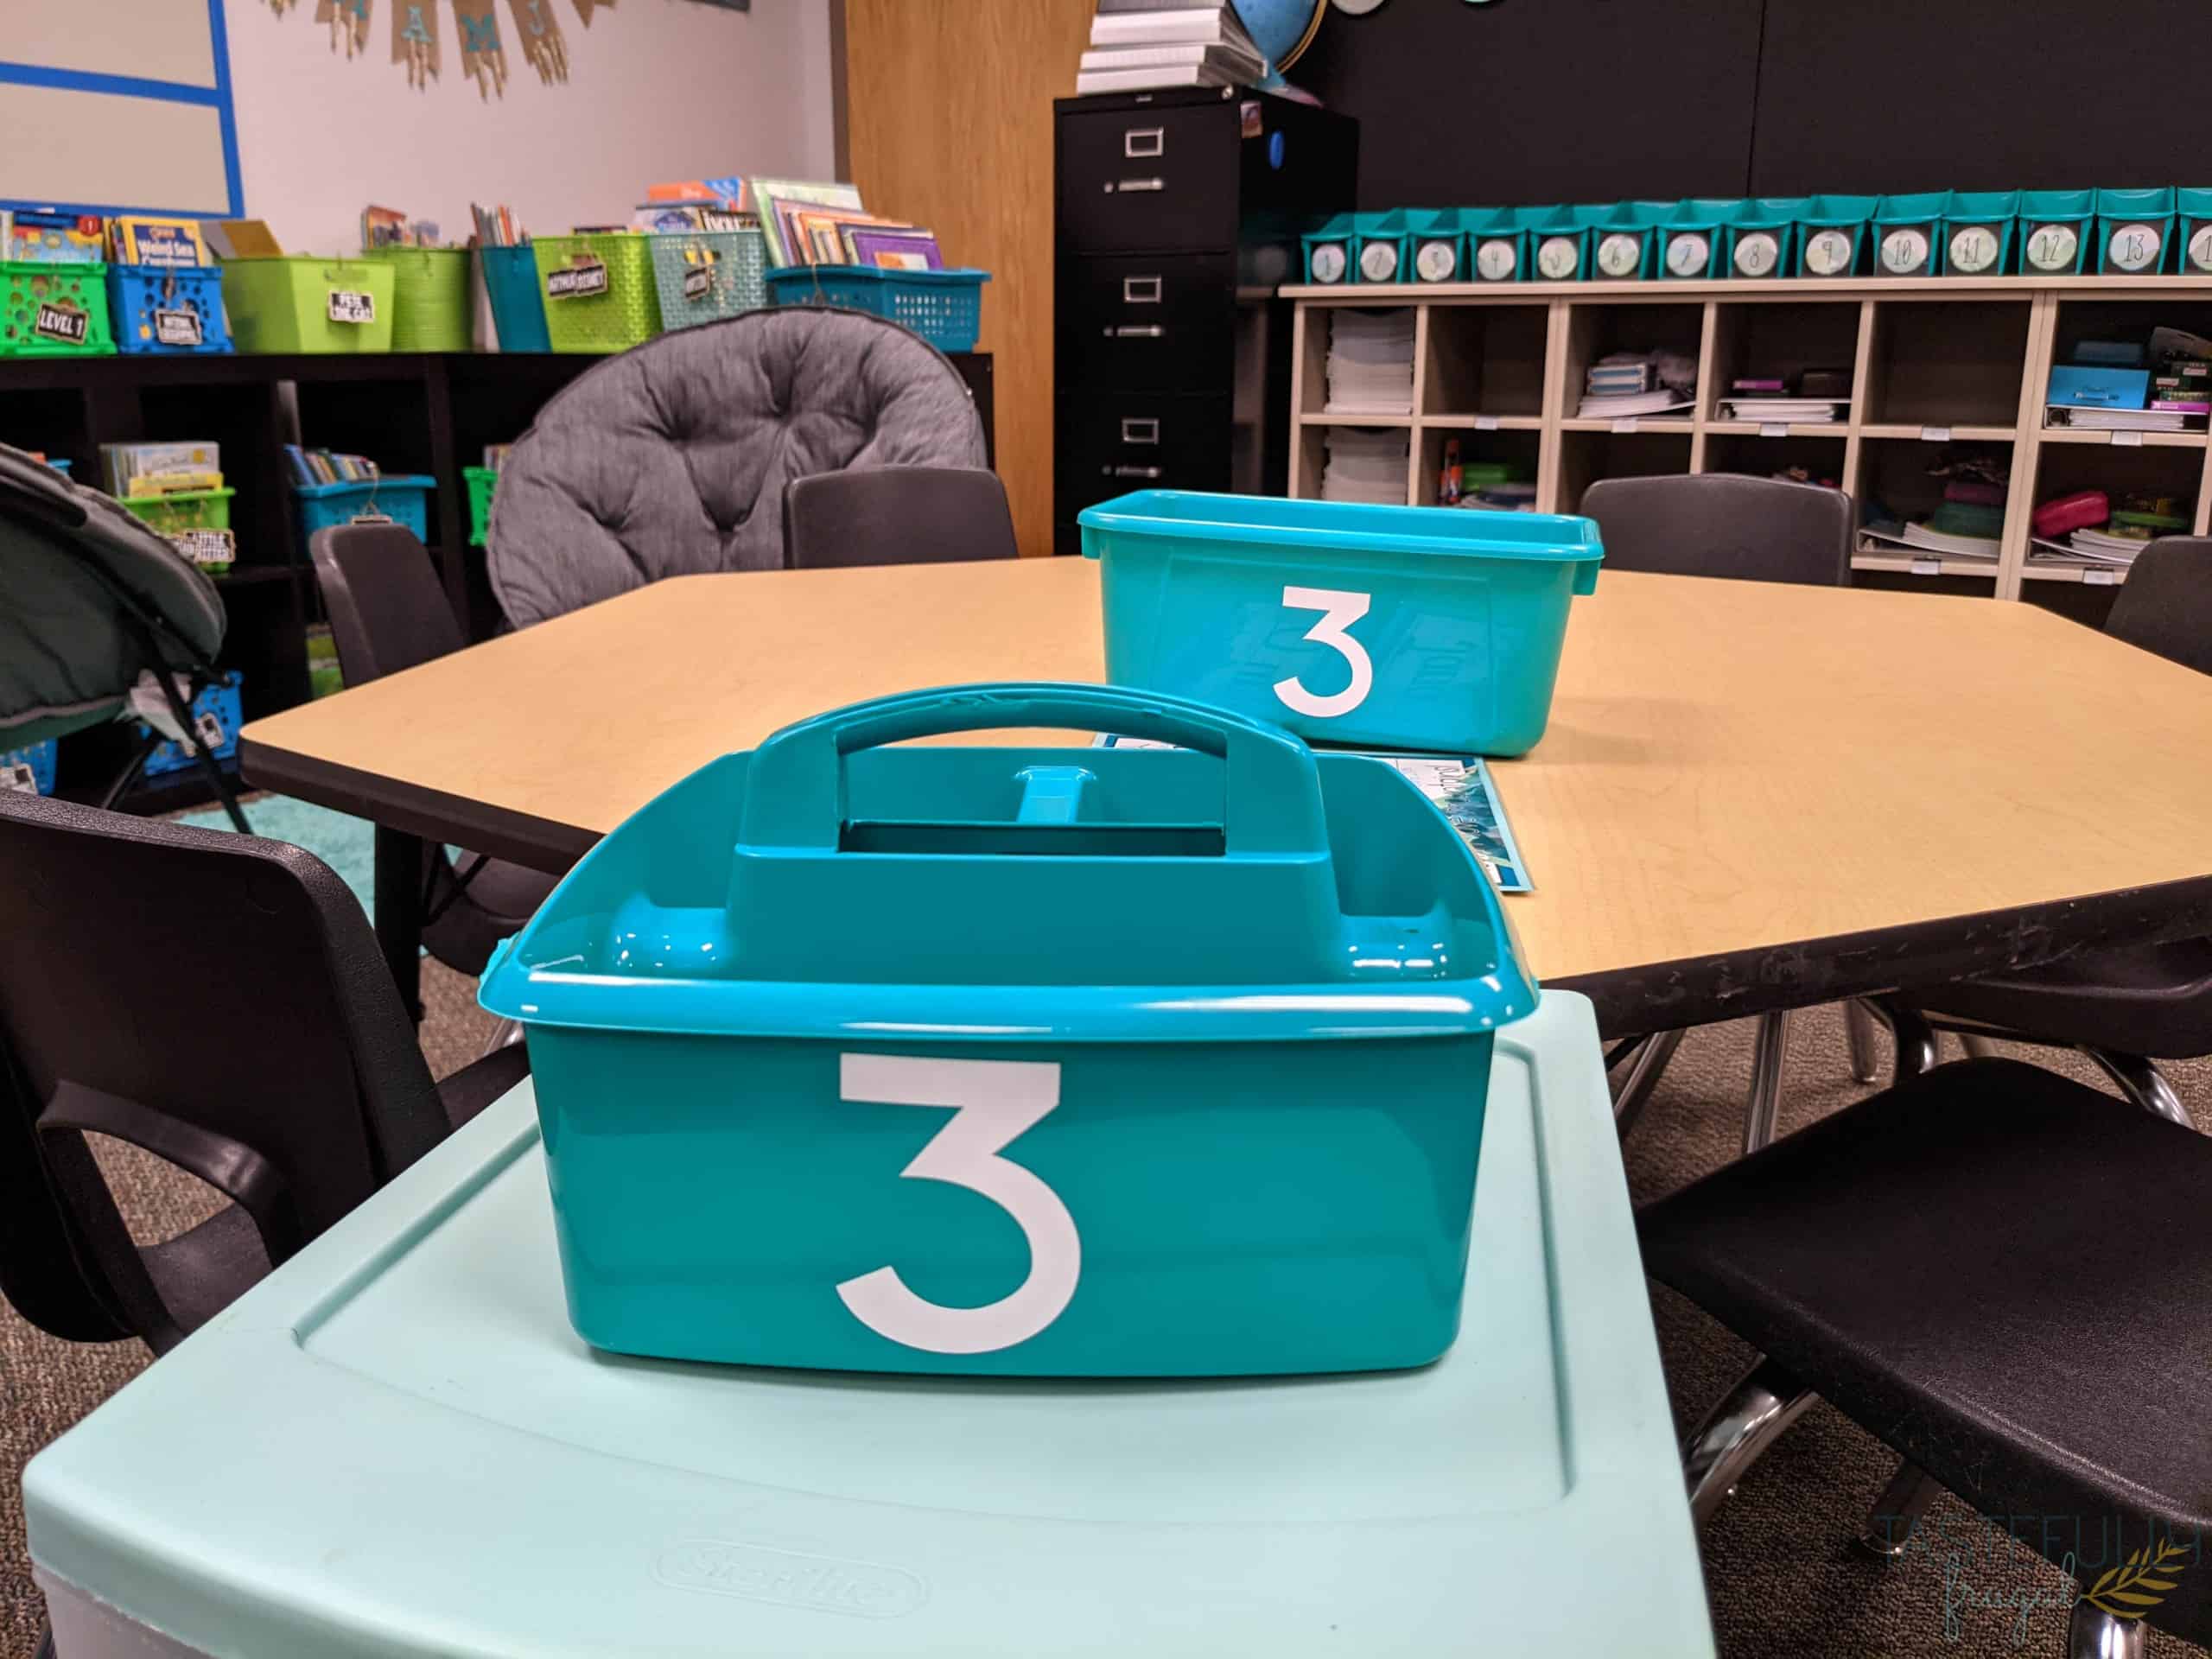
Table Supplies and Points Trackers
Mrs. Glennie’s students sit together as teams at tables around the classroom. We used vinyl to label the supply bins for each table so they could easily keep track of their table’s supplies. We also used the same magnet sheets from the in/out board to make circles with each team number on it to track their points on the white board.
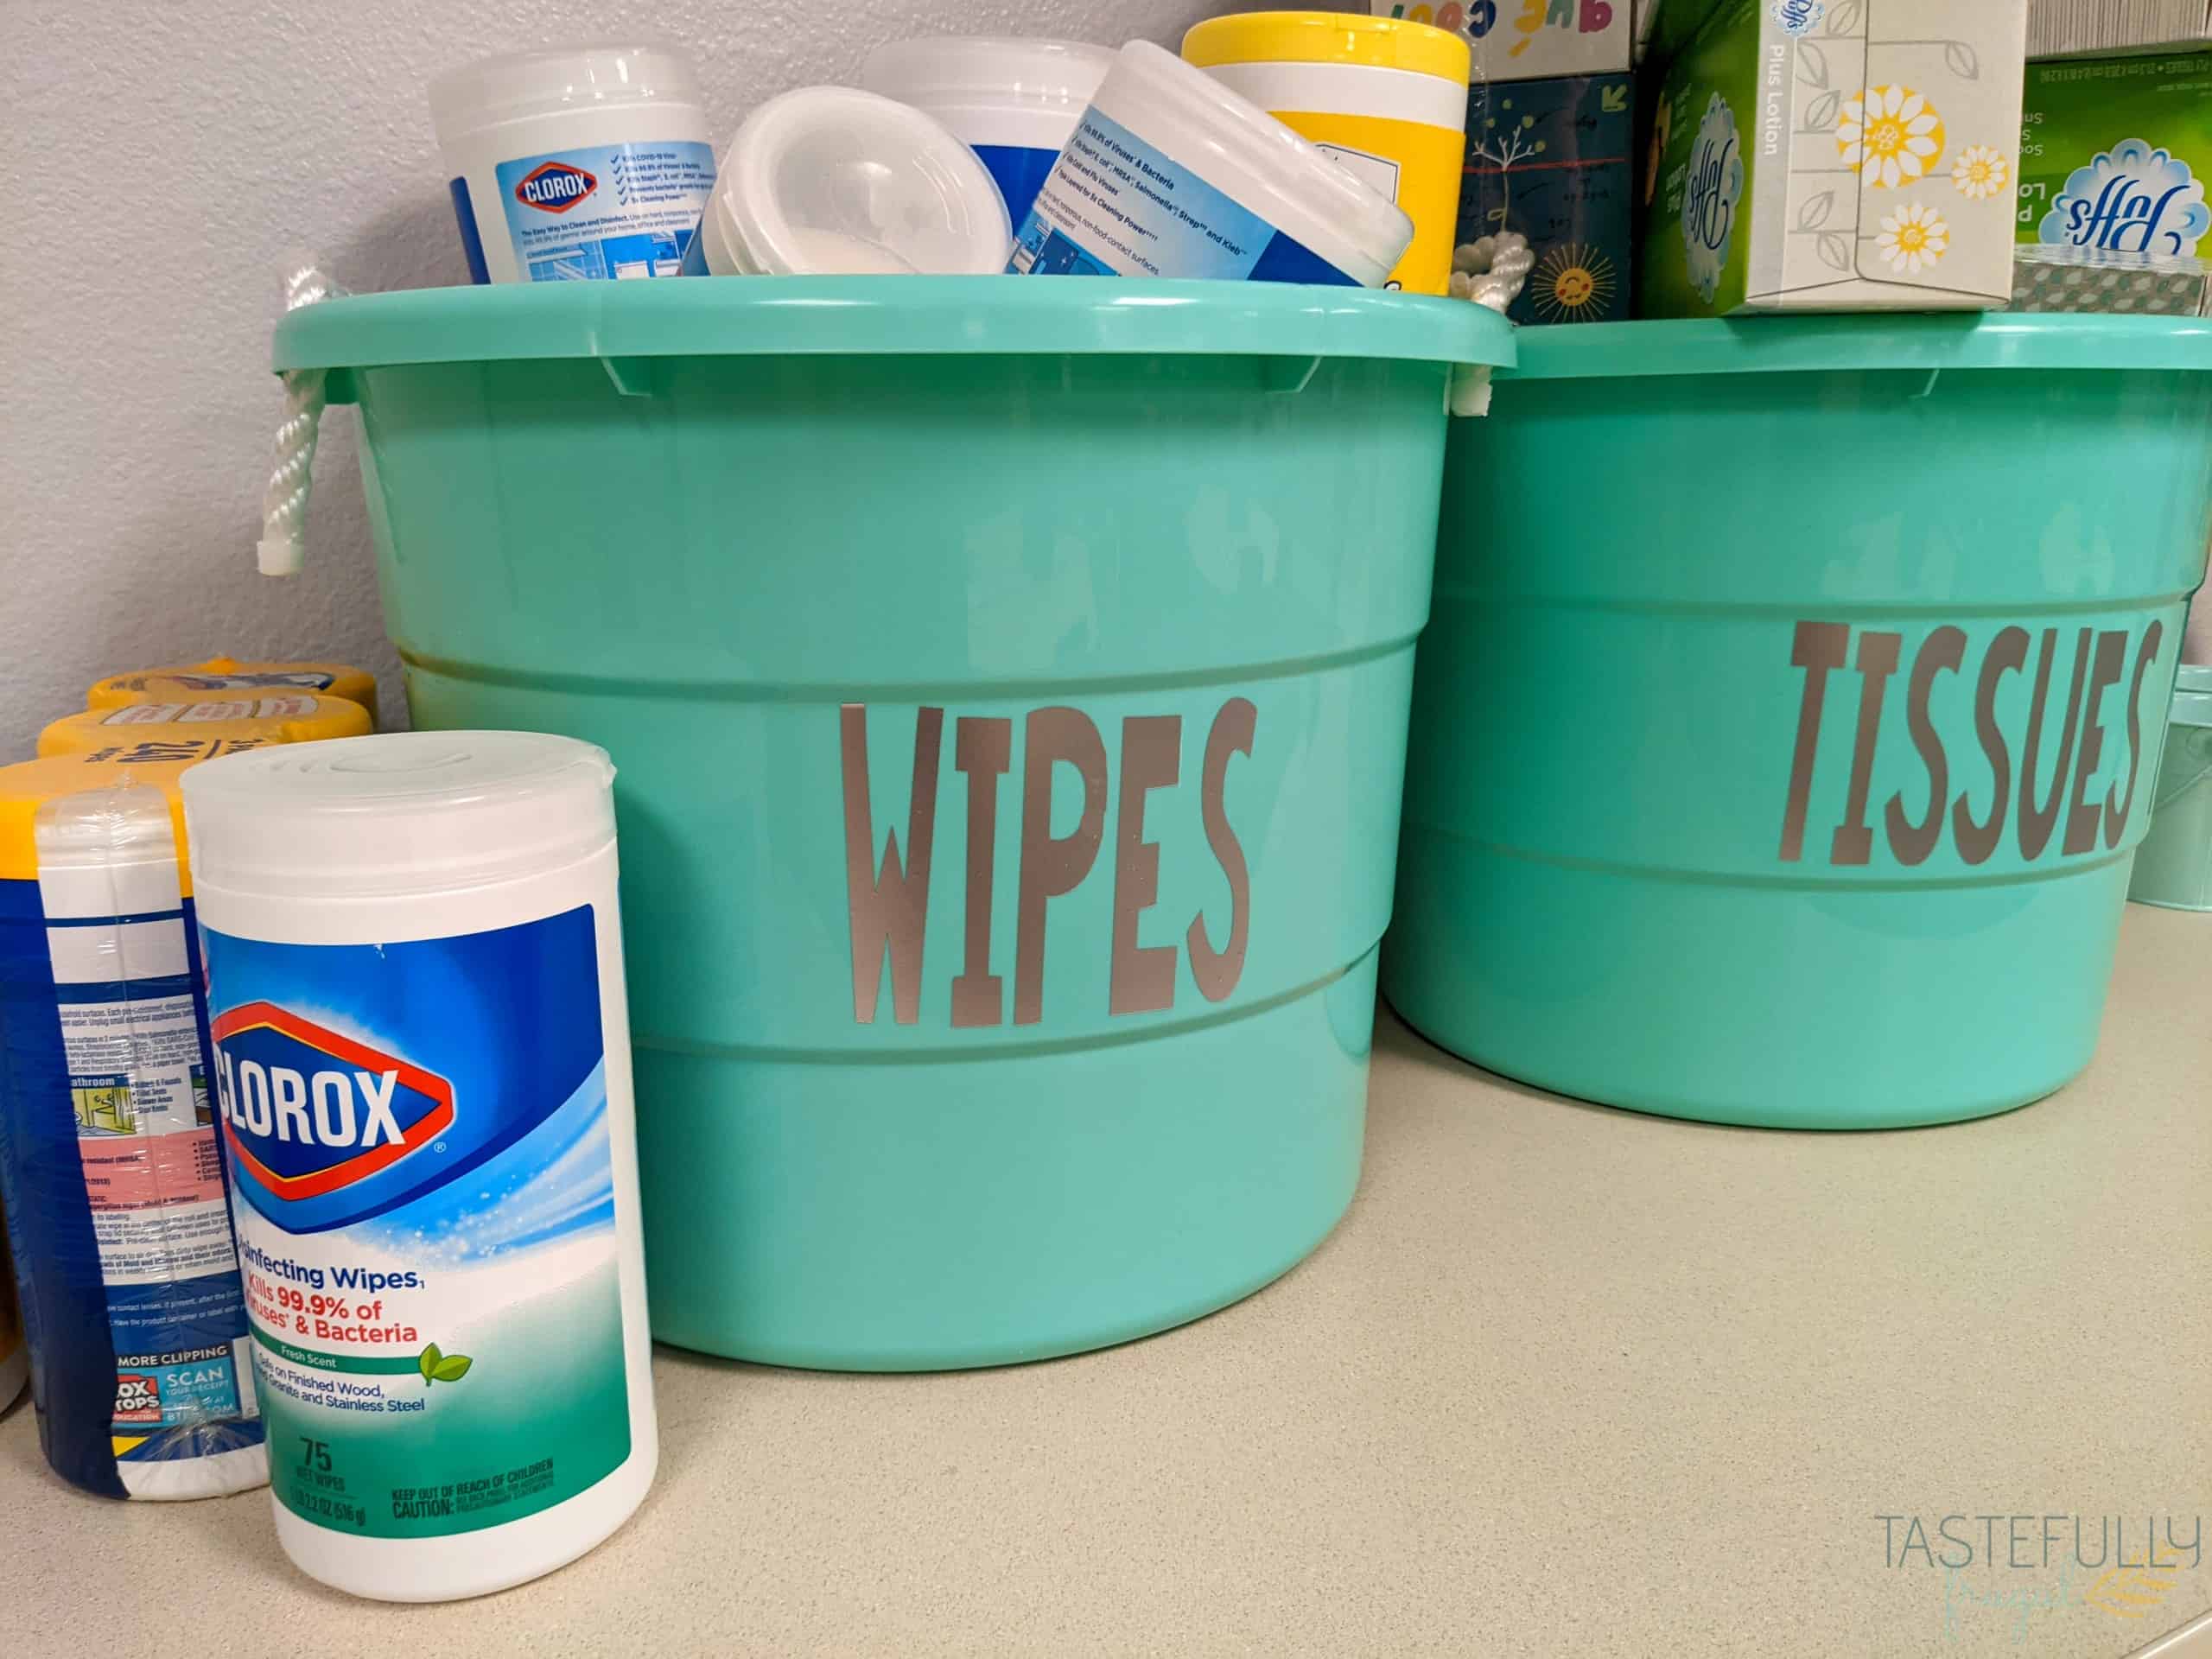
Bins for Supplies
Mrs. Glennie also has large bins to store supplies like wipes, tissues, lunch boxes and recess supplies. We used removable vinyl in Aqua and Matte Metallic Silver for these bins and you can find the Design Space canvas here.
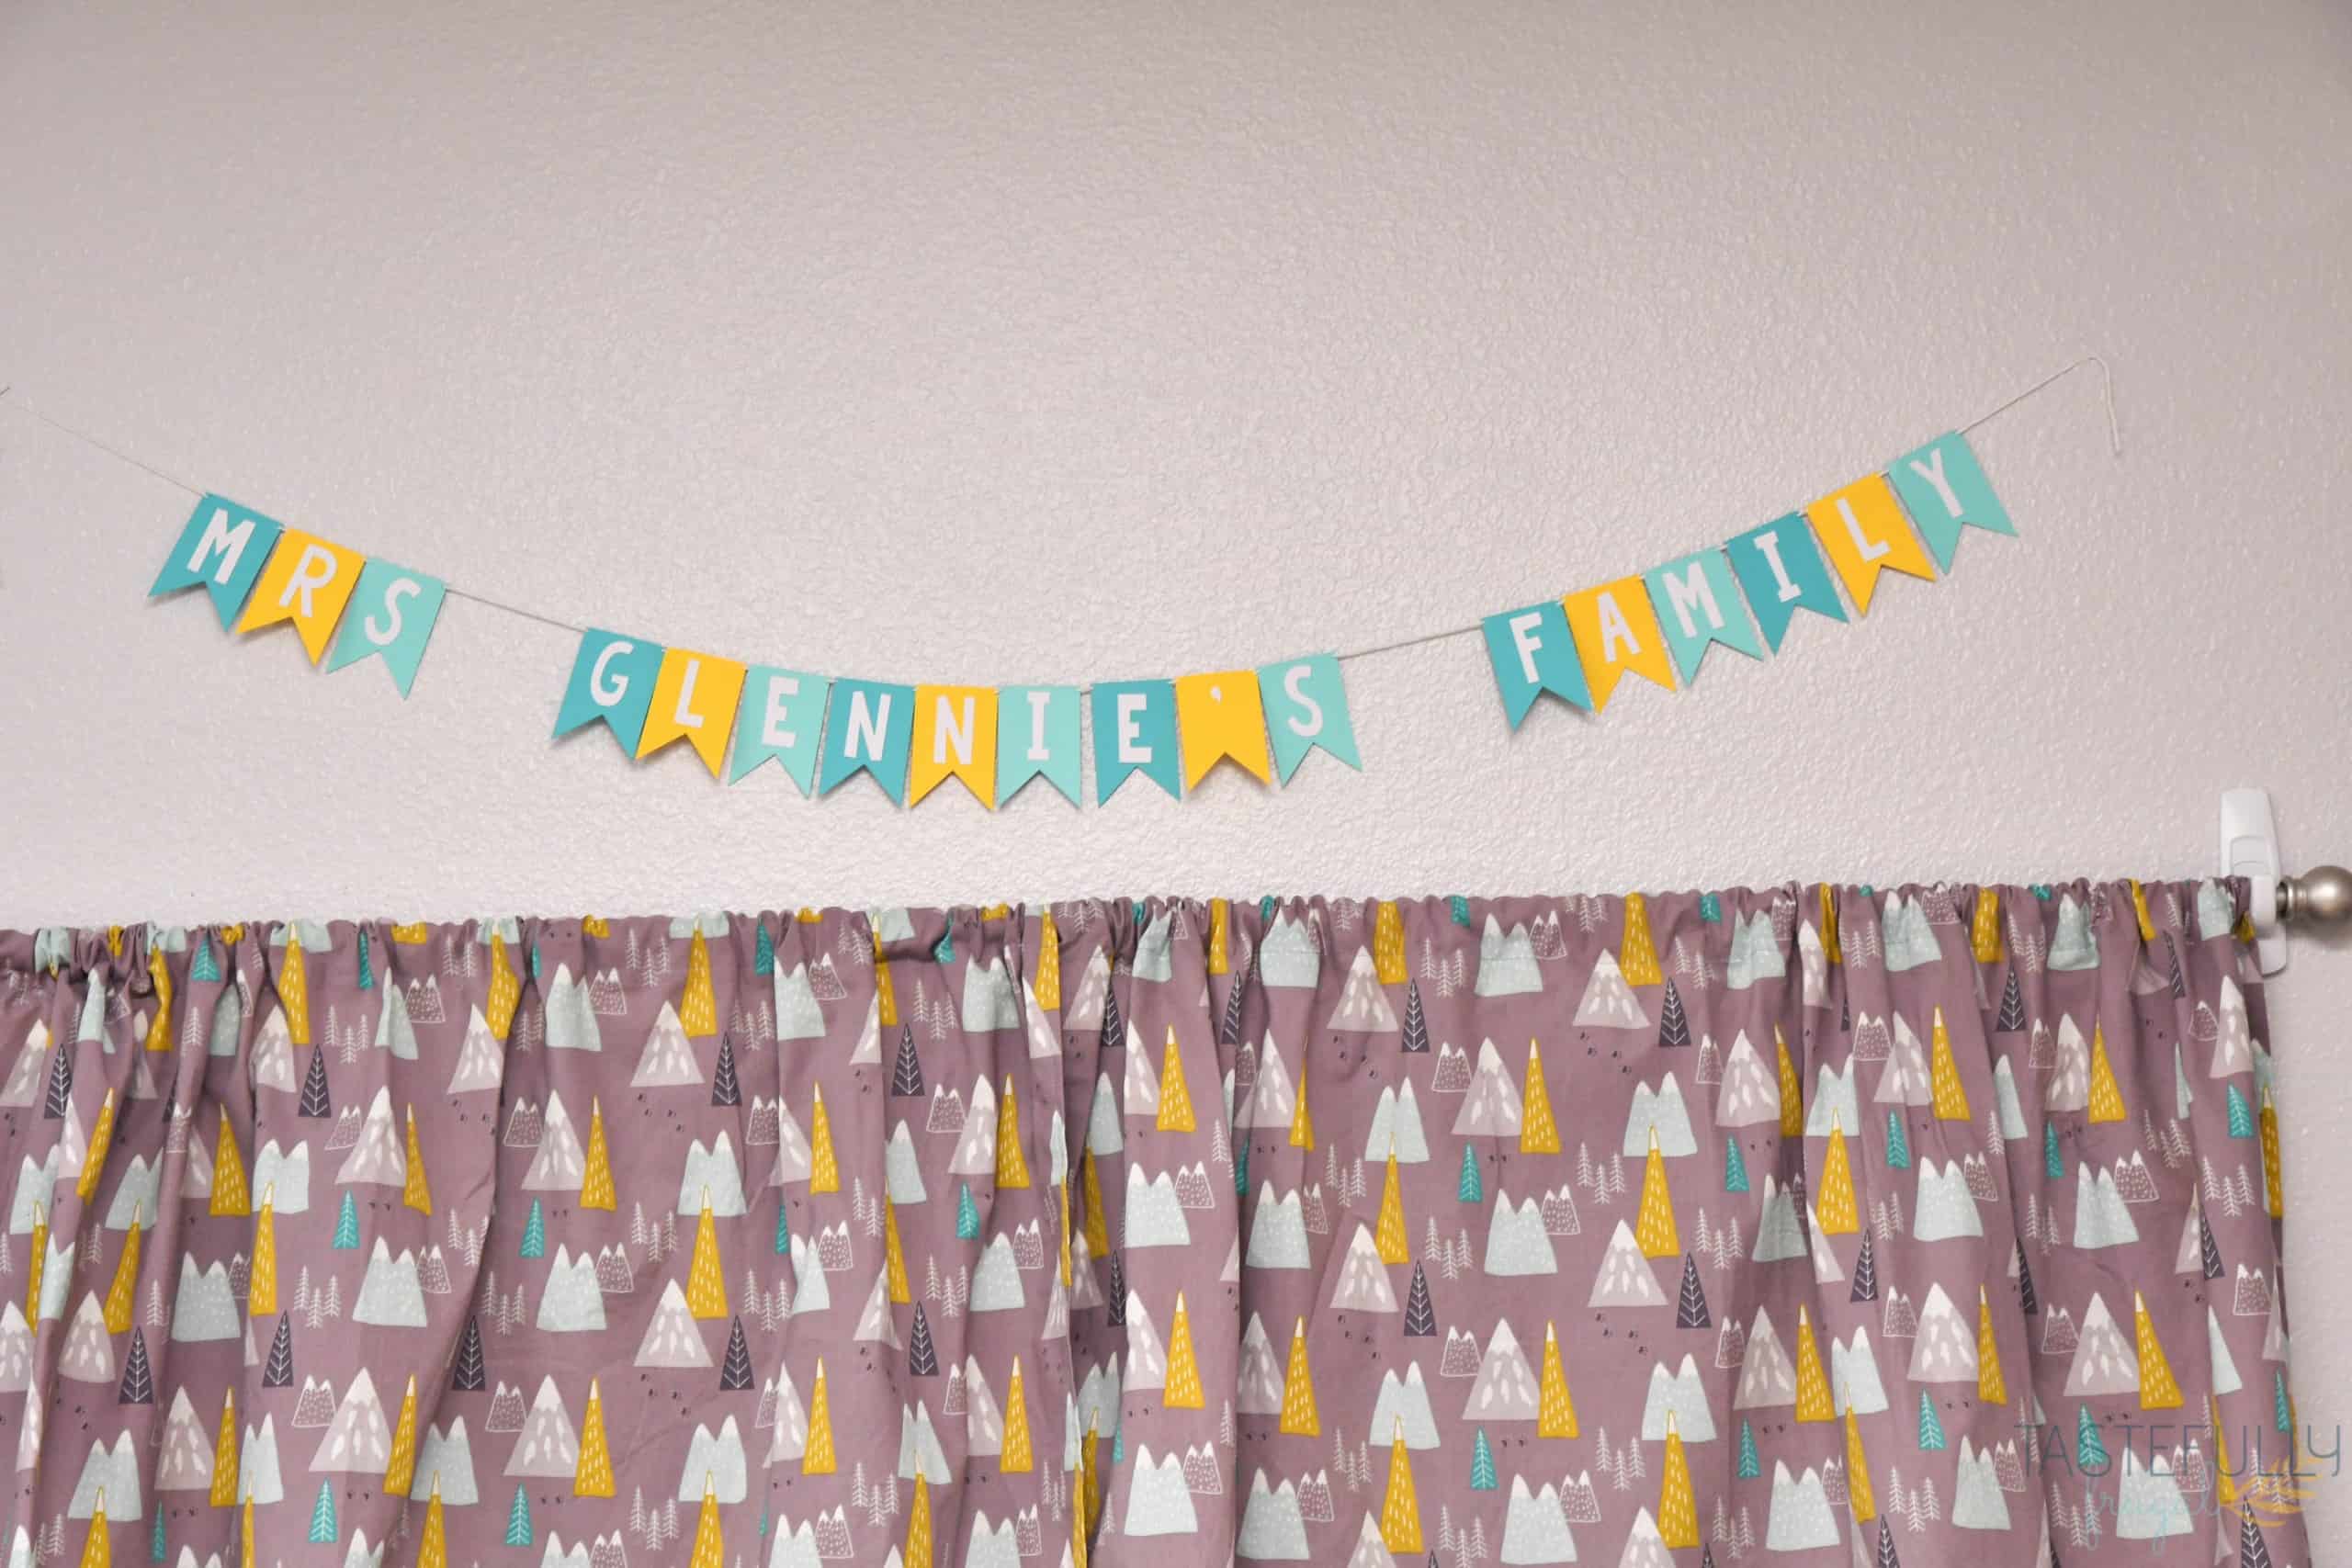
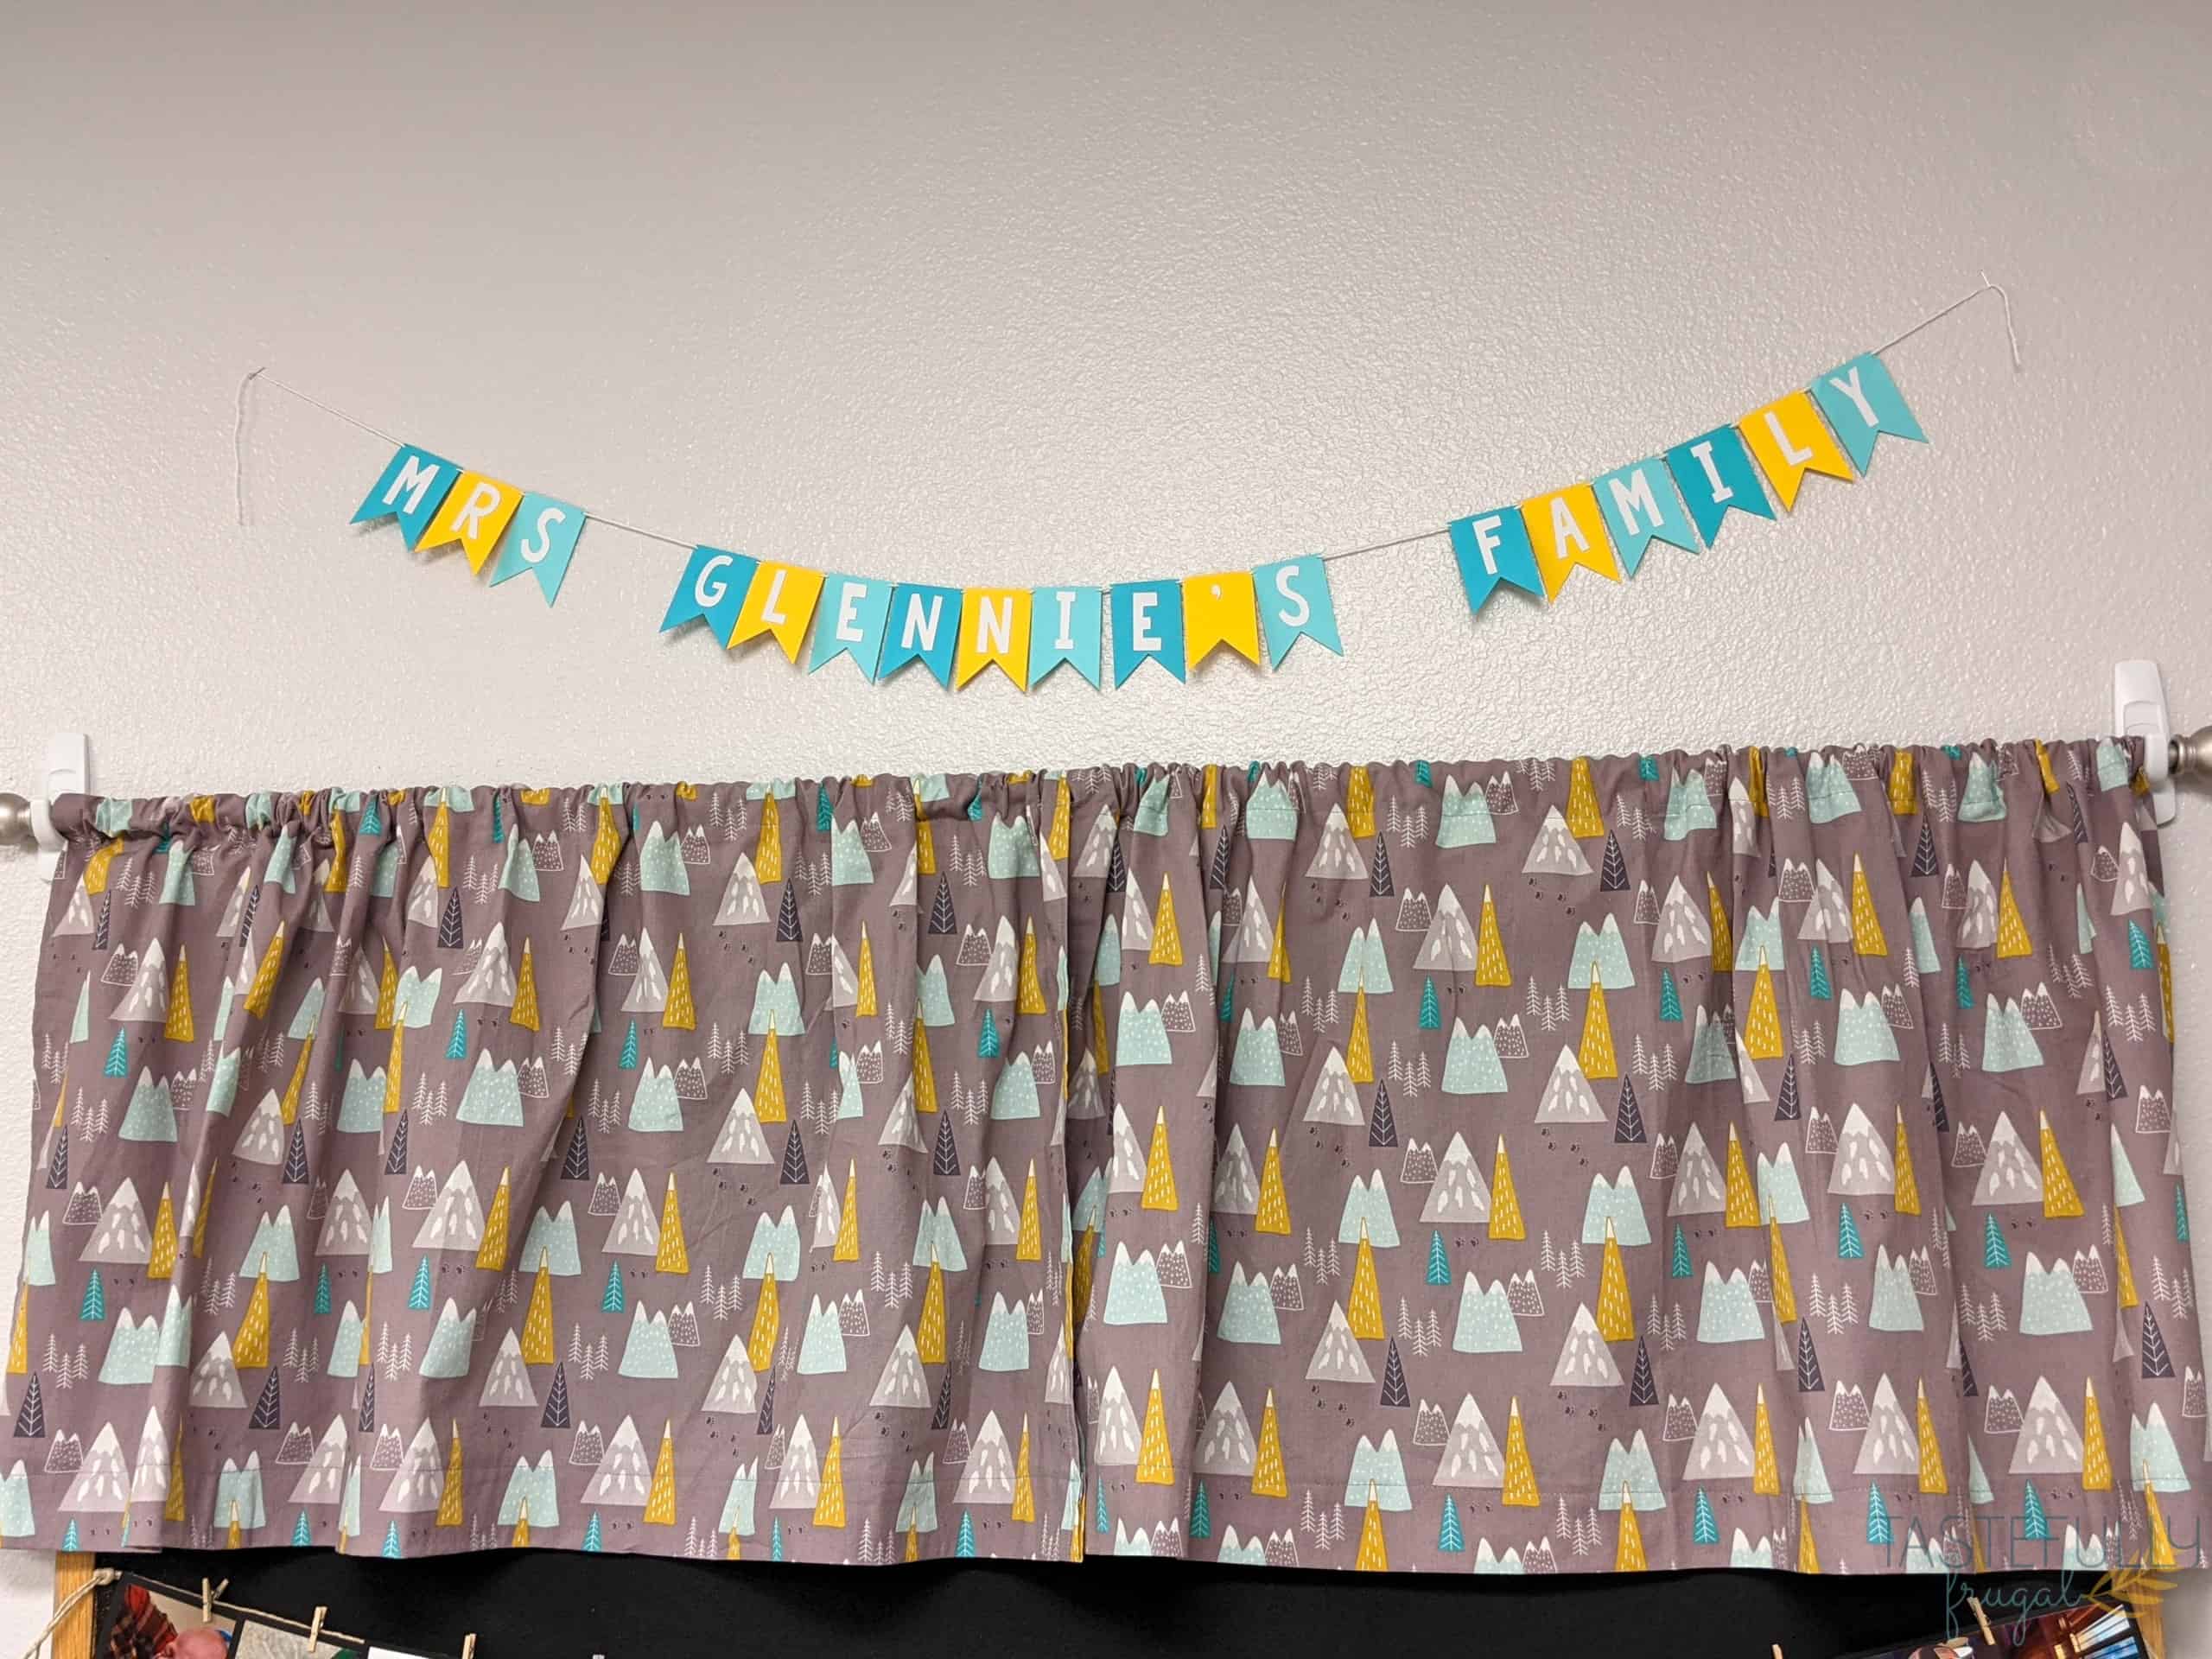
Family Banner
Mrs. Glennie features a new student each week and they get to bring in pictures of them and their family and share their favorite things. To give the kids an idea of what they can share she created a board above her desk with pictures of her family. Using card stock and the Smart Paper Cardstock we created a banner that says Mrs. Glennie’s Family to go over her board. The name isn’t attached to the banner in this Design Space canvas so you can easily change it for your (or your teacher’s) name.
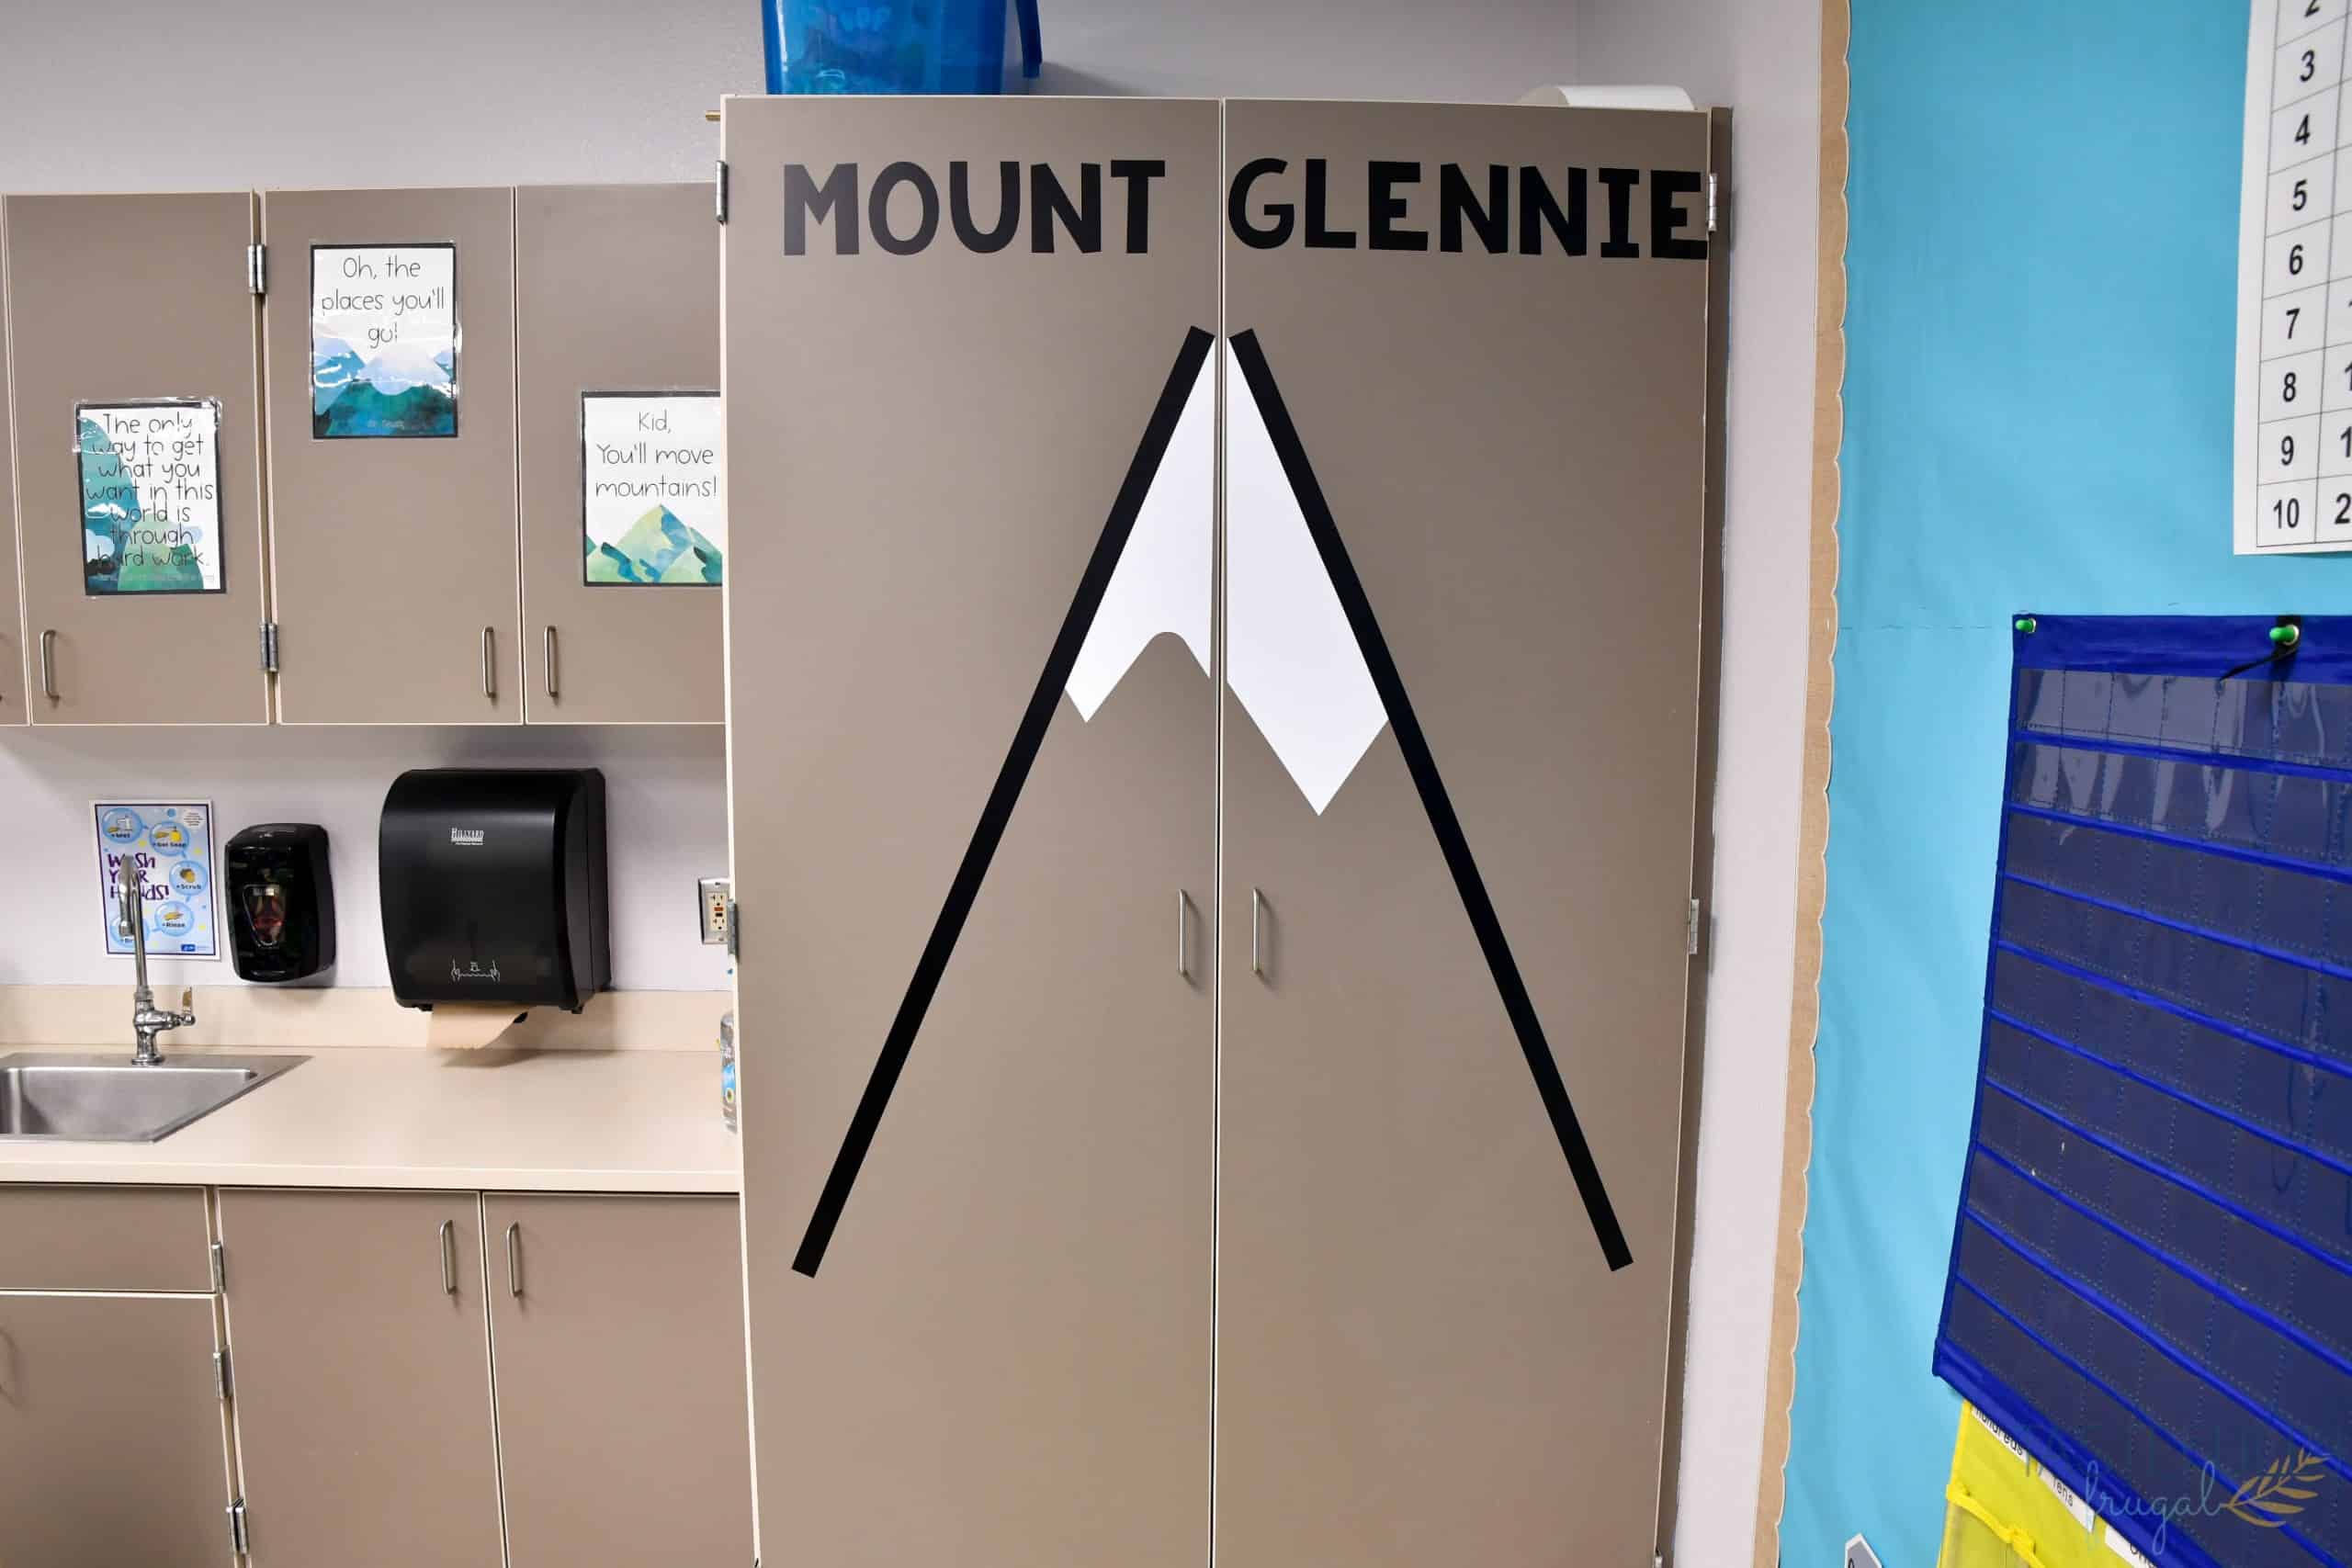
Personalized Goal Tracker Mountain
This was a really fun project to make too! Mrs. Glennie wanted a big visual way for the students to be able to track their goals. We created a tall 5′ mountain and called it Mount Glennie. The cabinet was the perfect place for this design because the space between the doors was the perfect spot to slice the white mountain cap. We used removable vinyl in white and black for this project. Here is the Design Space canvas.
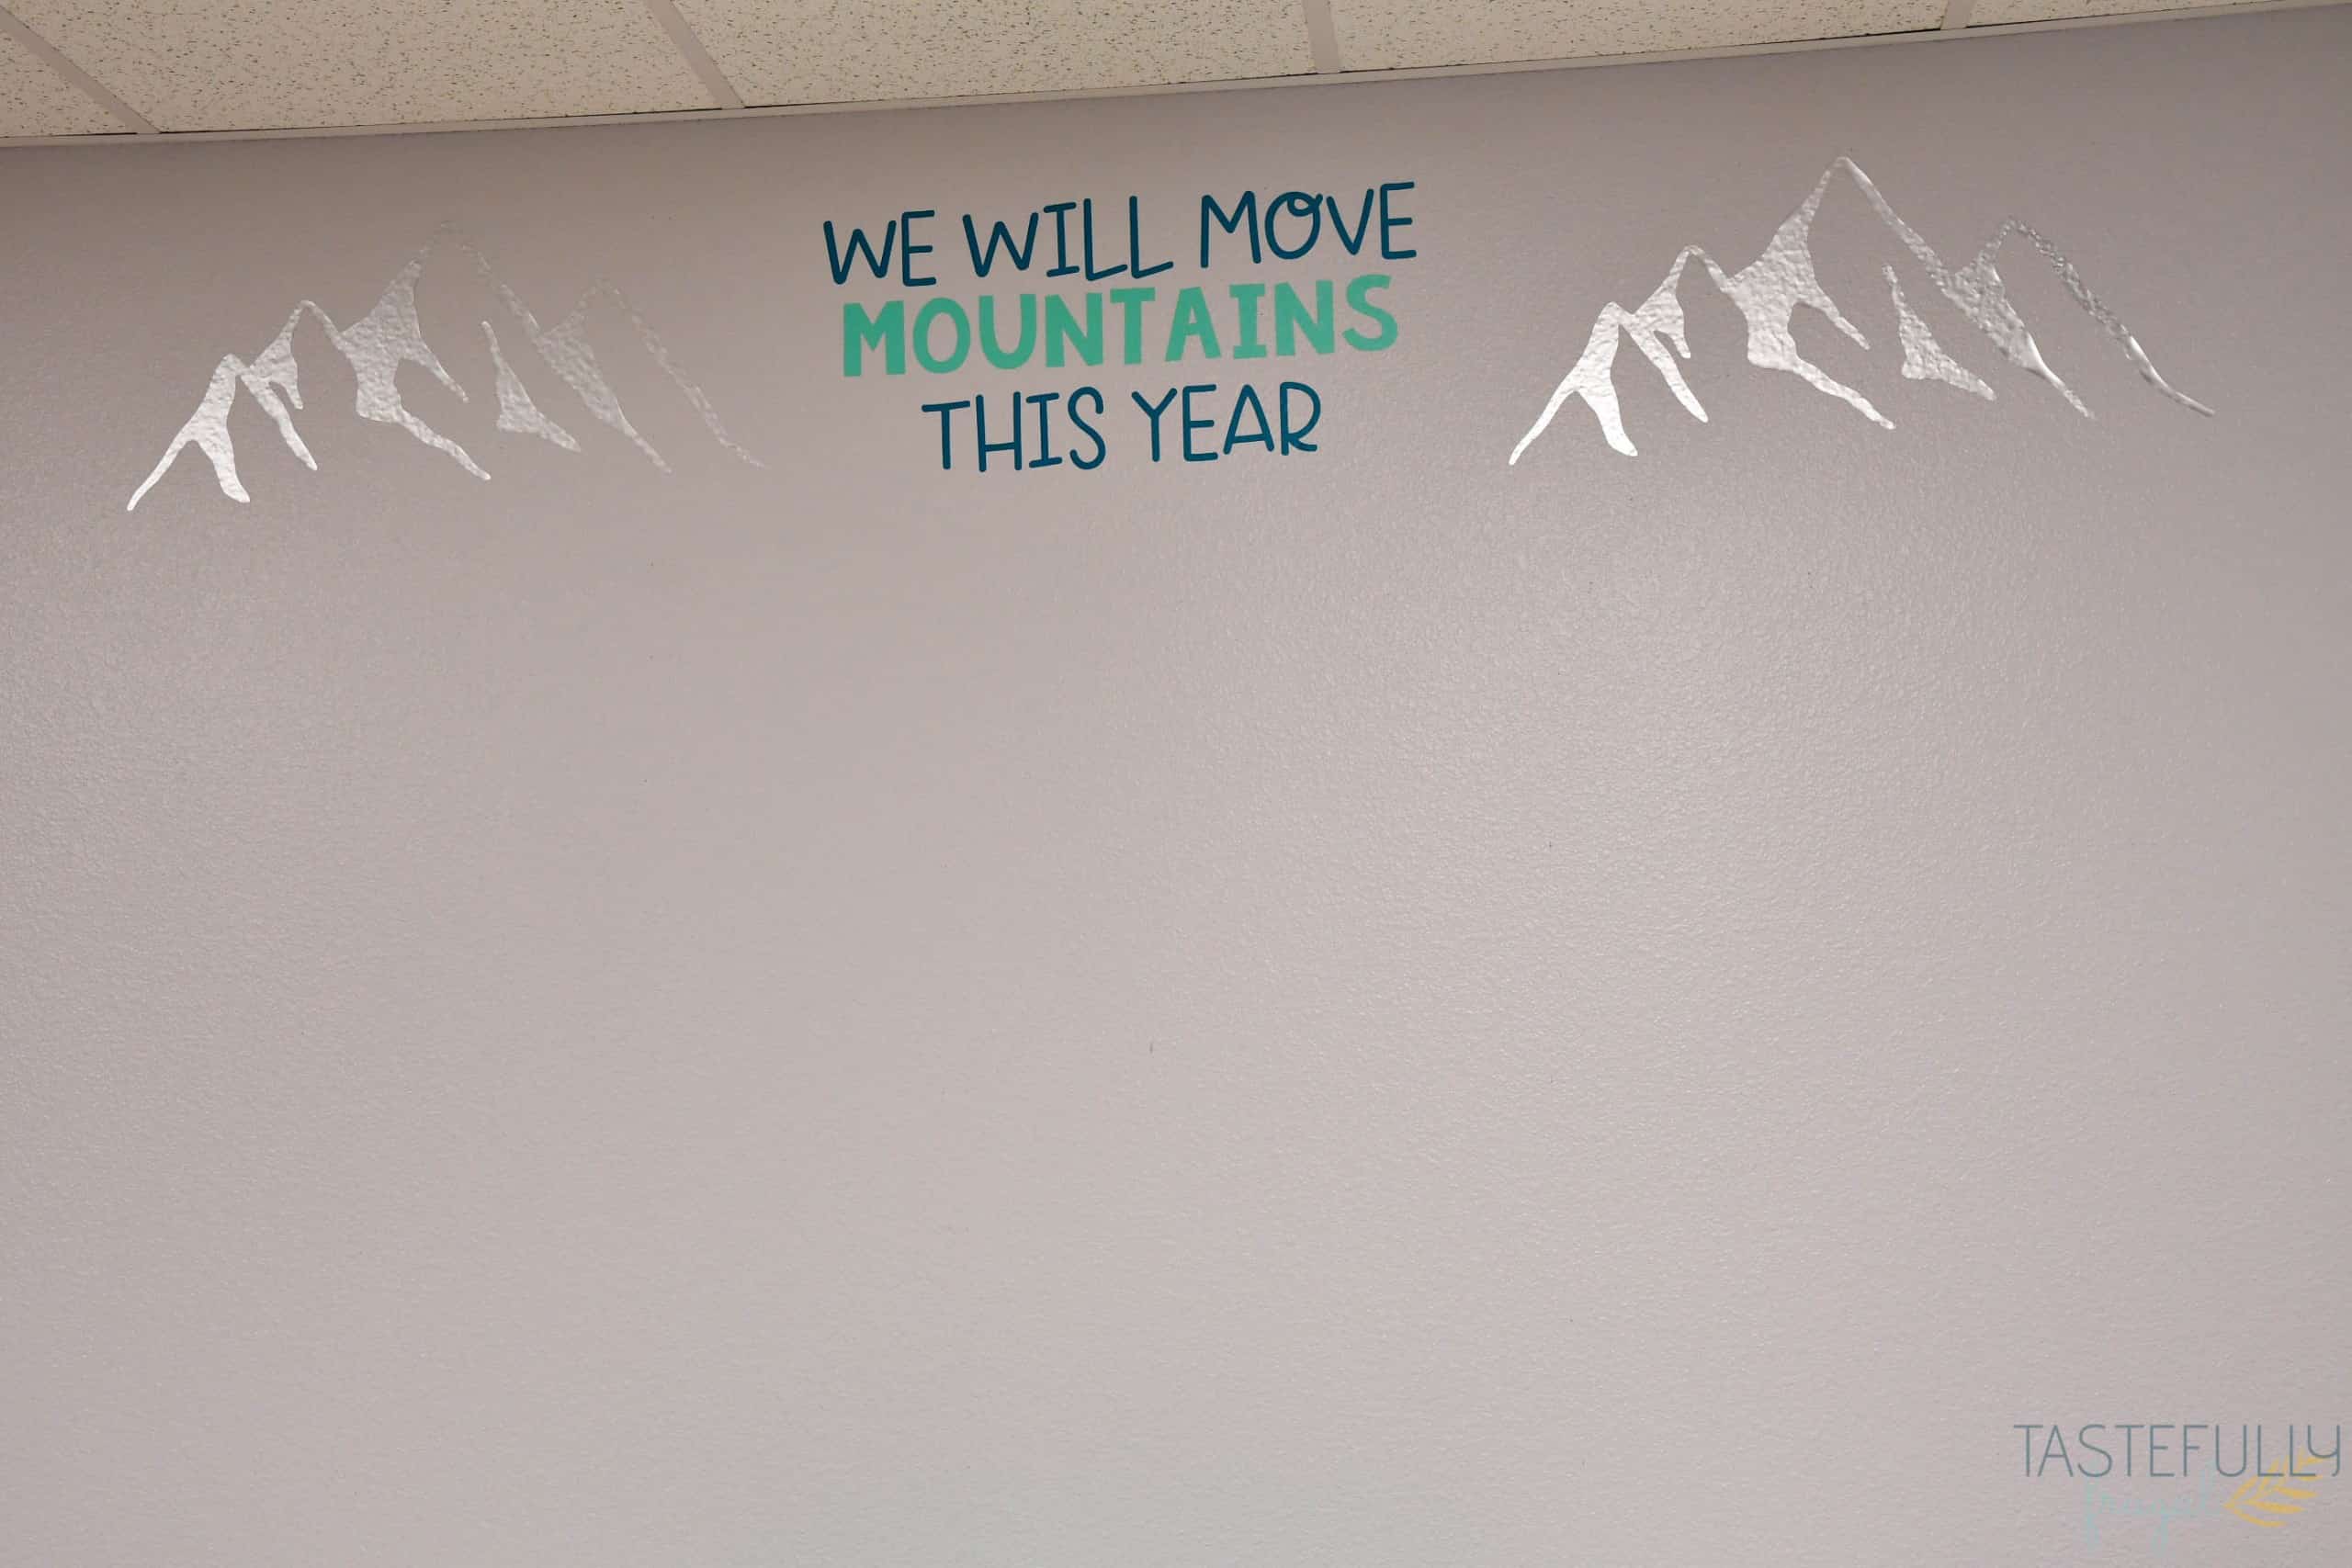
Decorating Classroom Walls with Cricut
We kept with the mountain theme and put this fun quote on the back wall of Mrs. Glennie’s classroom. We left room on the wall to display students’ work or for her to add more decor throughout the year if she wanted to. The Maker 3 was so helpful with this design too because we were able to get each of the colors done in one cut; which was SO helpful when it was time to put it up on the wall. We used Smart Vinyl in Aqua, Mint and Matte Metallic Silver for this design. Here is the Design Space Canvas.
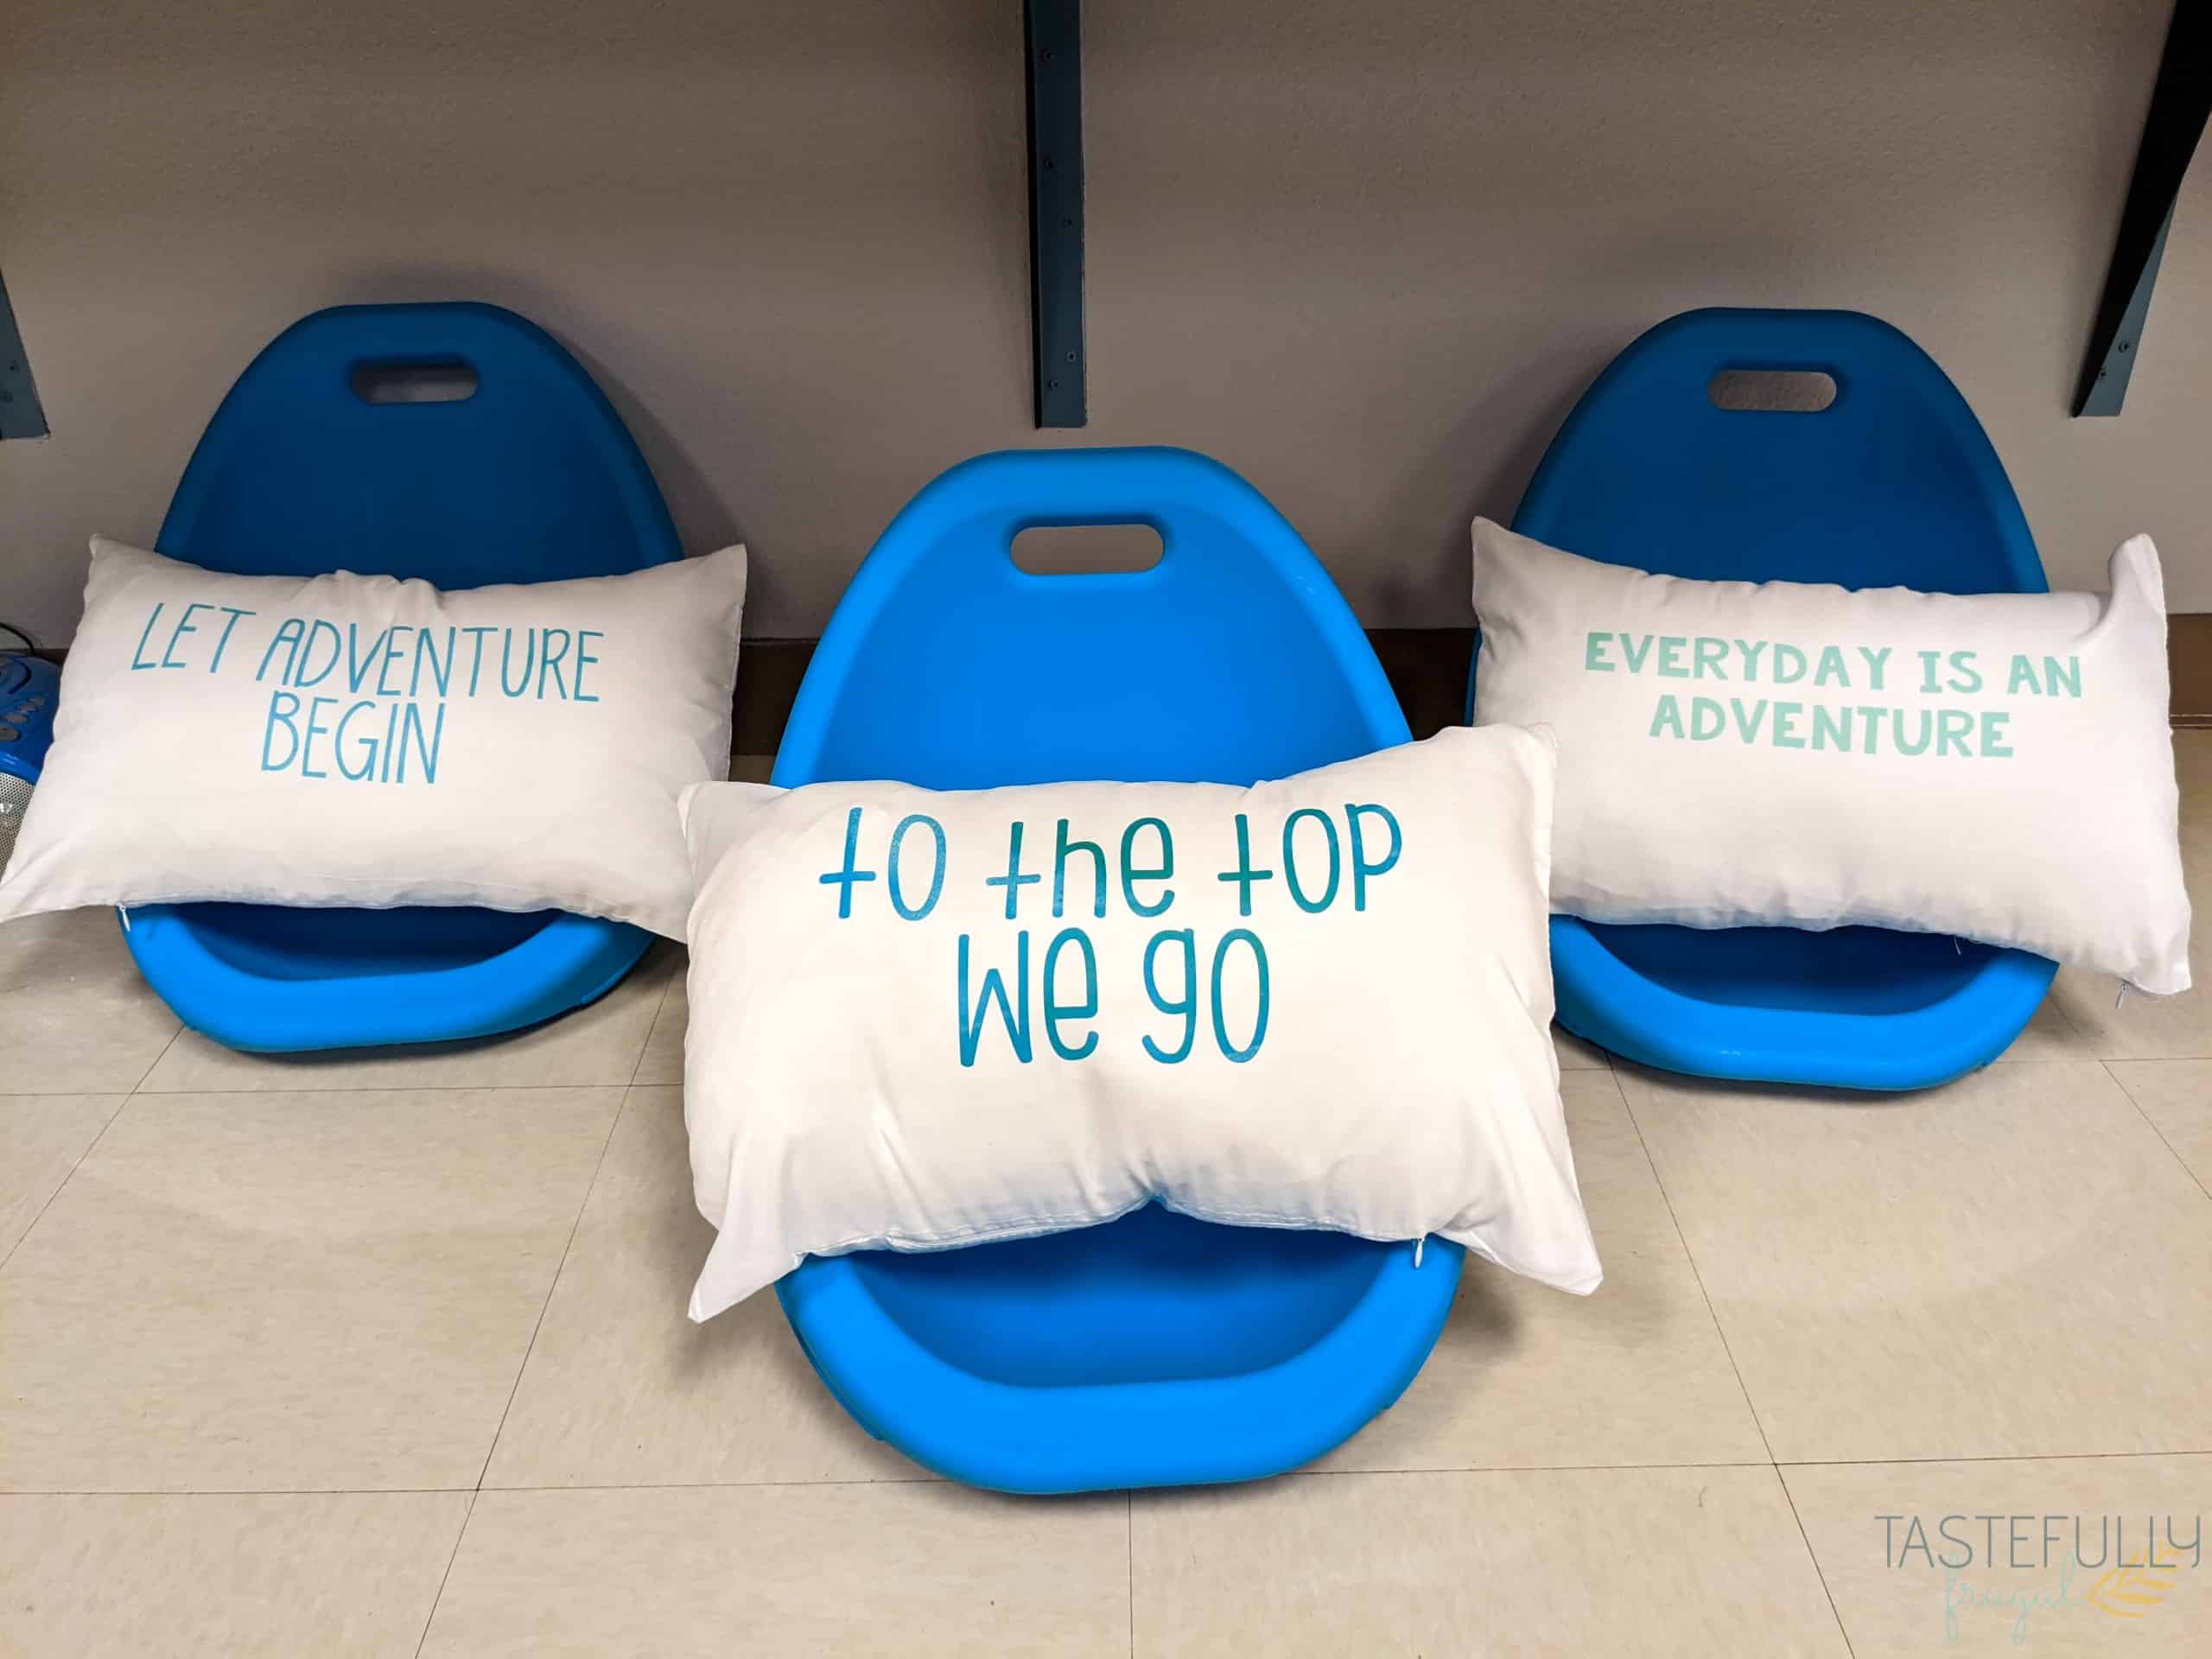
Listening Center Pillows
Mrs. Glennie has a small spot in her class where students have listening time. She has little scoop rockers for them to sit in so we decided to add some fun mountain/adventure quotes to some pillows to make it a little more comfortable. We used these 100% polyester pillow covers with Infusible Ink and they turned out so fun! Here is the Design Space canvas for all three designs. You can learn how more about how to use the Infusible Ink in this post.
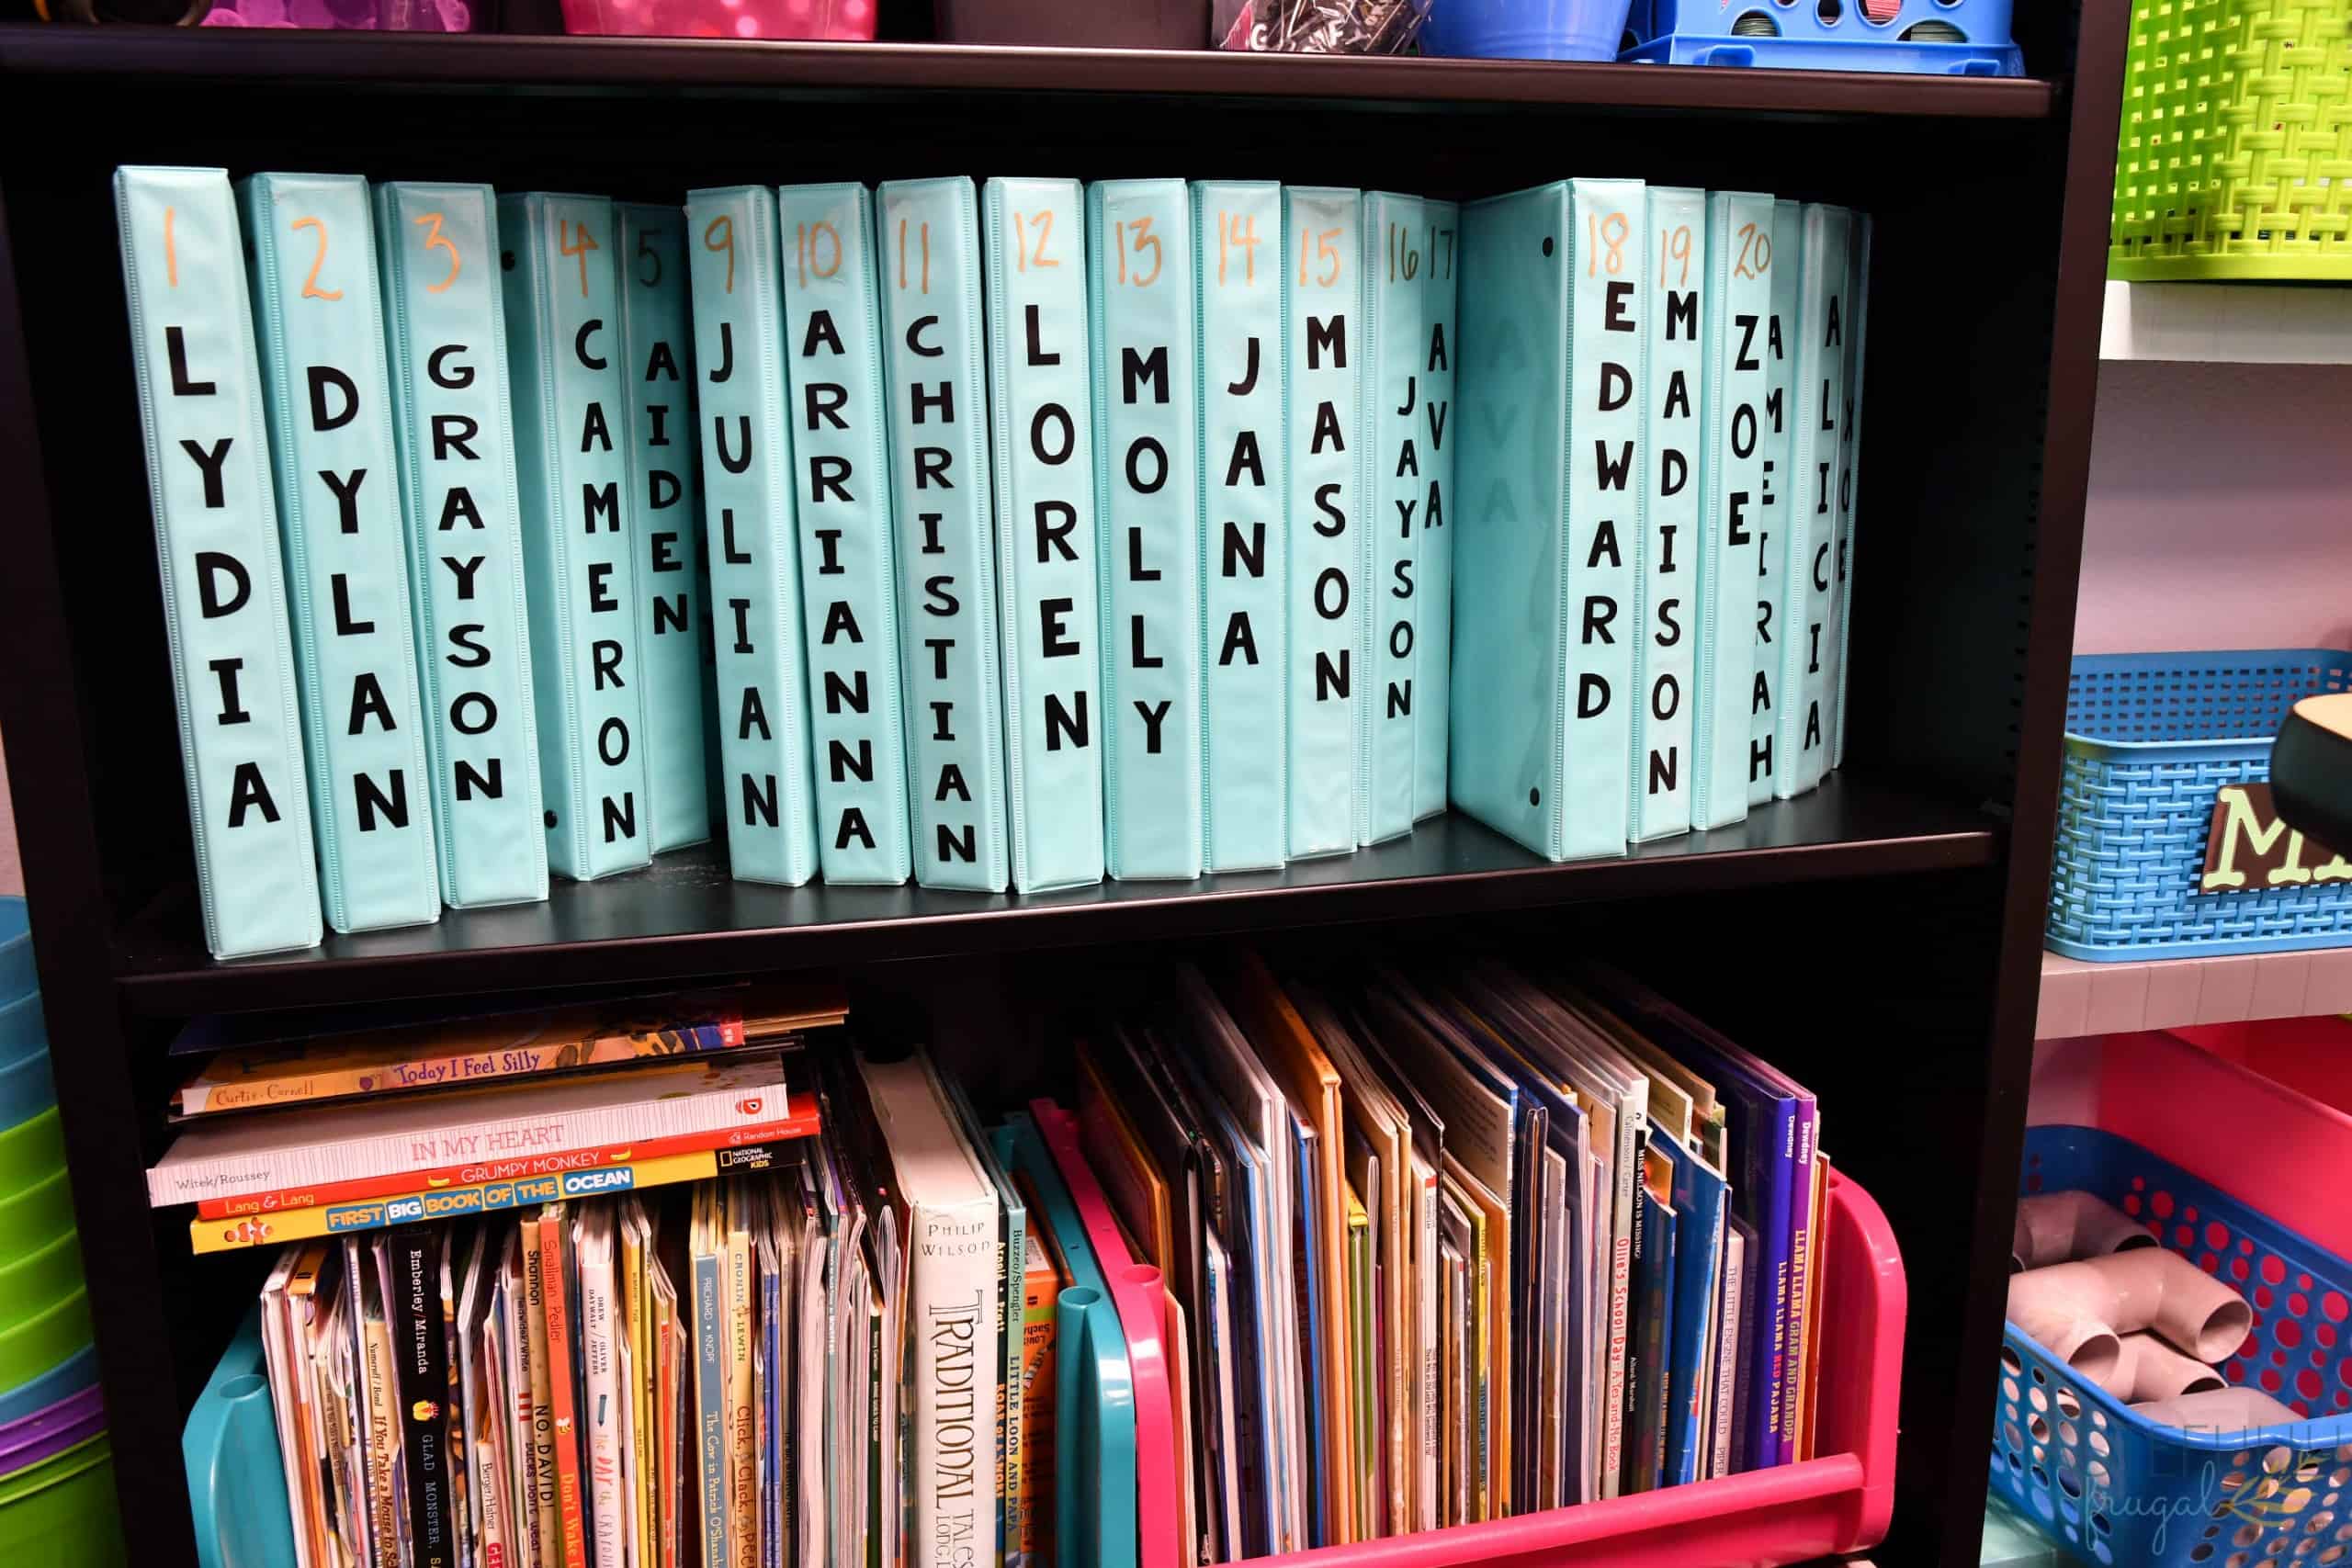
Personalized Classroom Supplies with Cricut
The last 3 projects we made were personalized for each student. We added their names to their binders so it is easy for them (and Mrs. Glennie) to find whose is who. Because Mrs. Glennie reuses these each year we used removable vinyl again so she can easily change them out each year. I made the names all .75″ wide and the length varied by how long the name was.

We then used the Cricut Joy and Smart Labels to label each student’s cubby for supplies and their hook for their backpacks (and coats in the winter). I love using the Smart Label Vinyl to label things because it’s super fast and easy and the labels last FOREVER. I made labels for my kids toy bins almost two years ago and they are still on there, which is amazing with how tough my littles are on their toys! You can read more about how to use Smart Label here.
I hope this gave you some fun ideas for how you can use your Cricut in your classroom! Be sure to subscribe to my YouTube channel to check out all my video tutorials including projects and how to’s. For more Cricut projects and tutorials, check out these posts. For tips, tricks and immediate help, be sure to join our FREE Cricut Support Group.
The post Cricut Ideas For Classrooms appeared first on Tastefully Frugal.